Last updated November 21, 2026
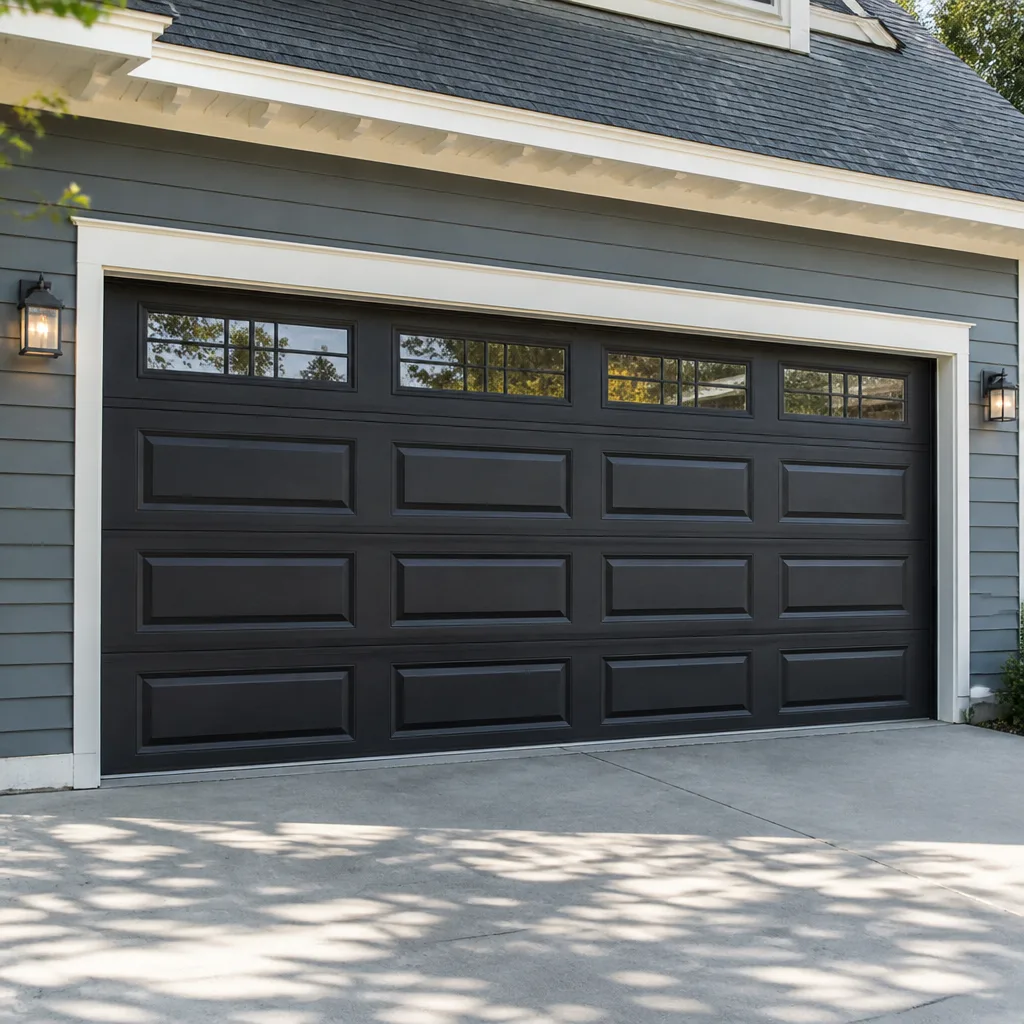 Raised-panel steel
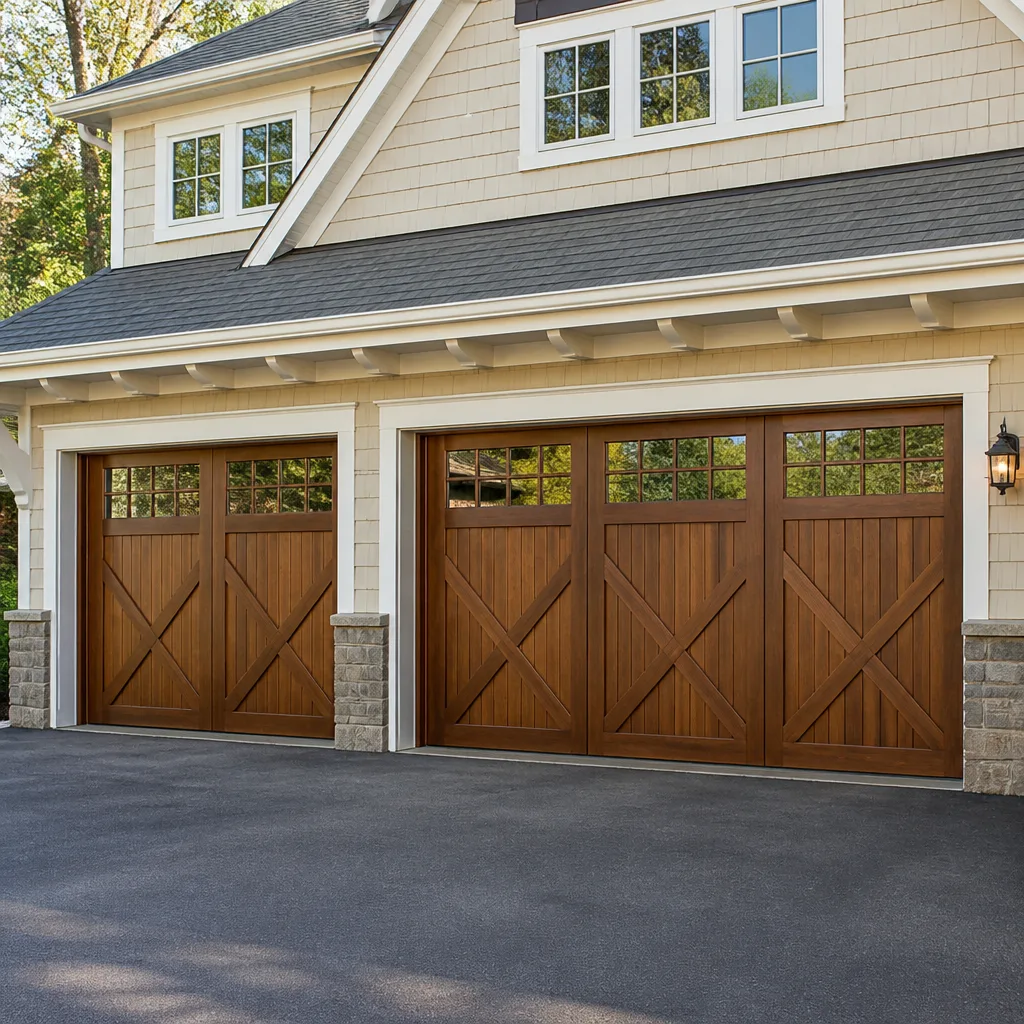 Carriage house
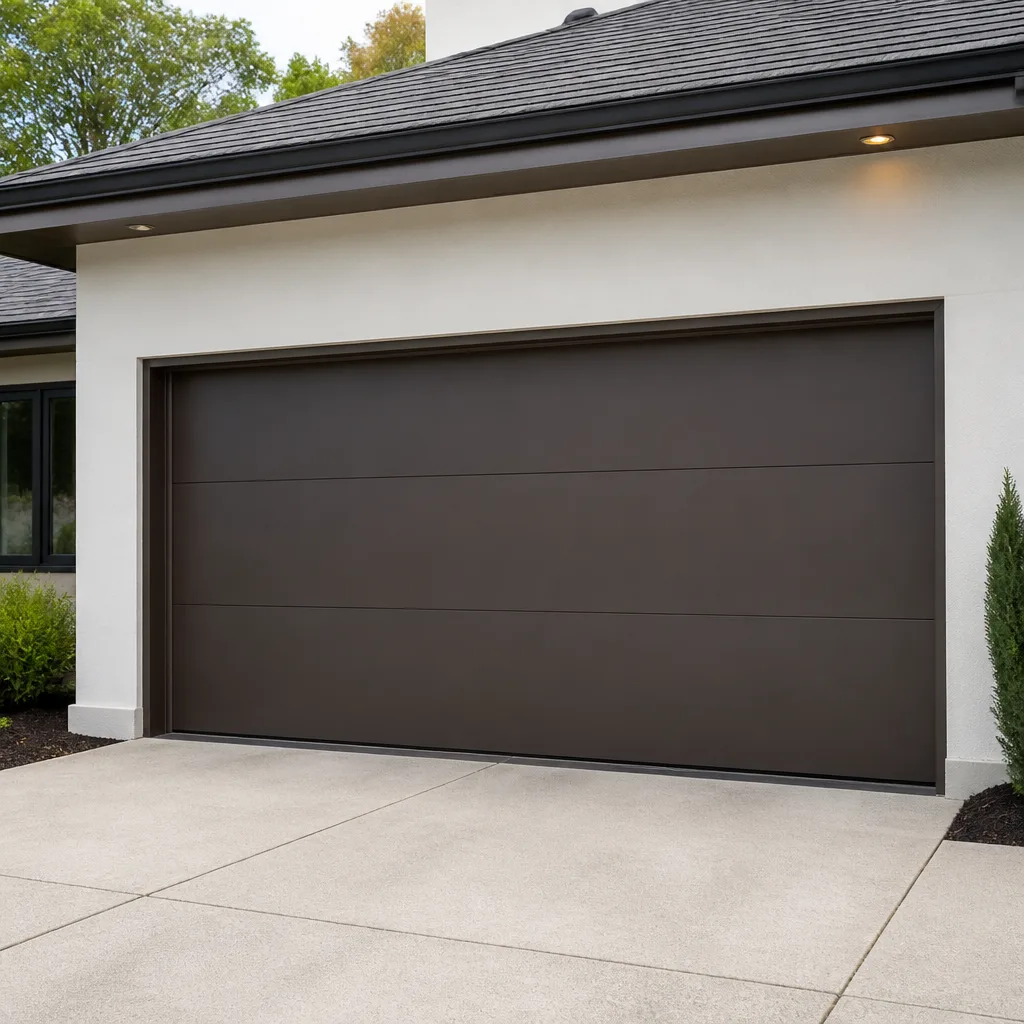 Modern flush
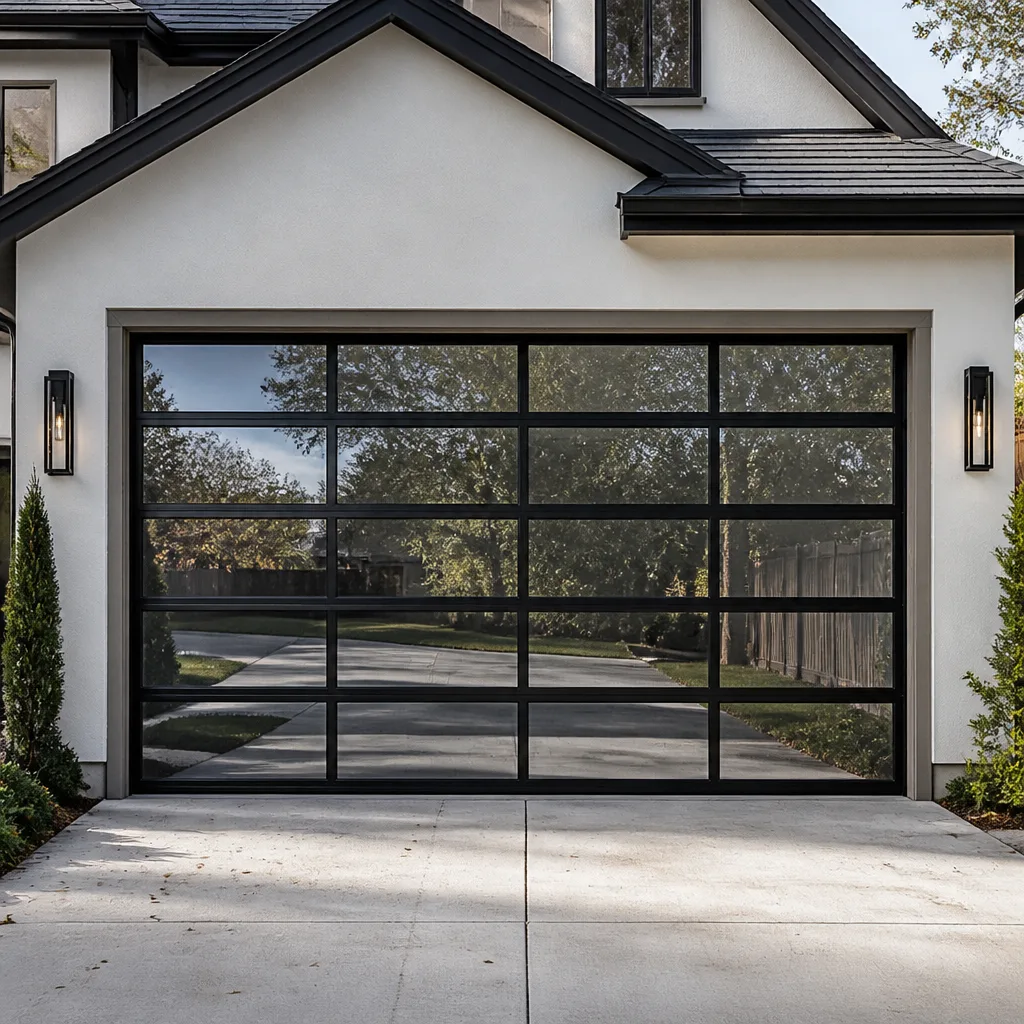 Full-view glass
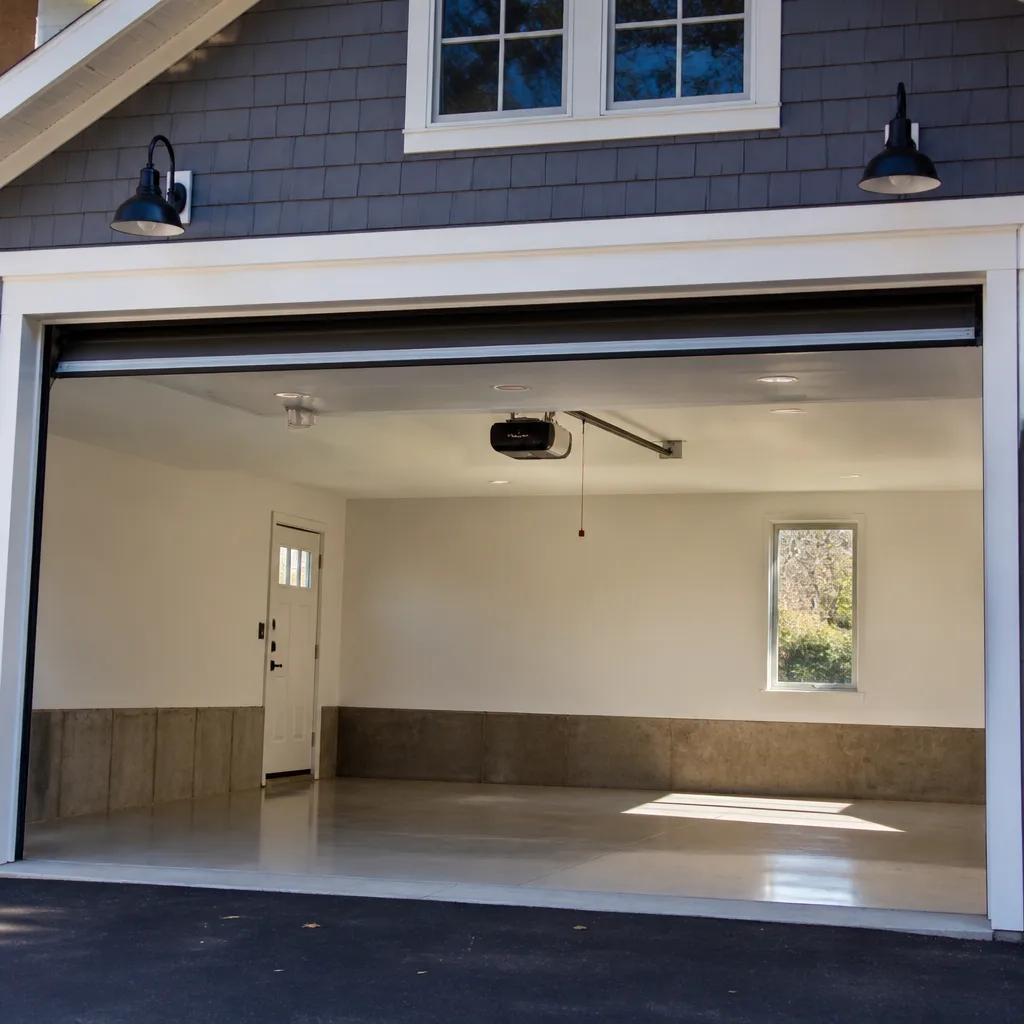 LiftMaster openers
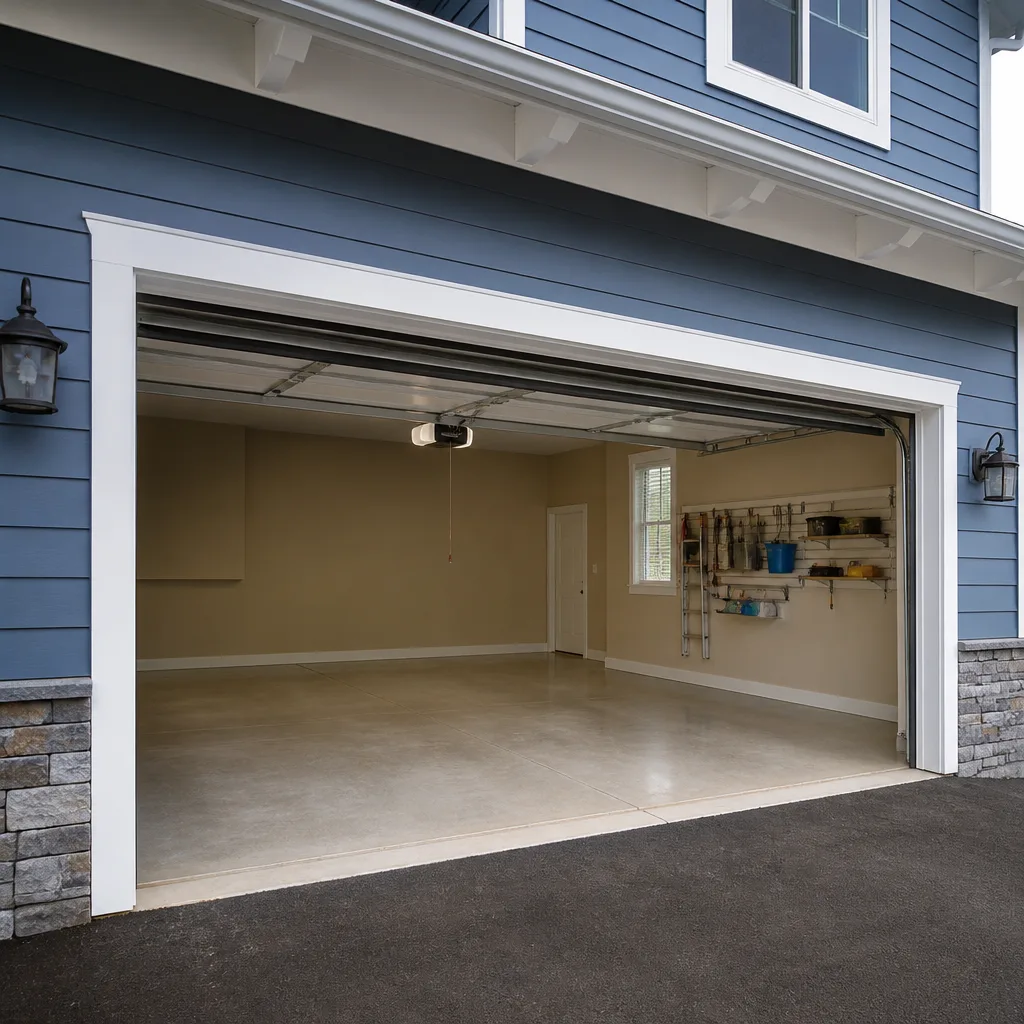 Chamberlain openers
Full 25-point door and opener safety check with every visit - springs, cables, rollers, tracks, and your LiftMaster or Chamberlain opener included
You get a price before we start. It does not change when the pro arrives.
Get your free estimateGarage Door Repair Maintenance Checklist for Canarsie Homeowners
A torsion spring on a standard two-car door holds roughly 100 foot-pounds of torque. That stored energy is what lifts a door weighing a few hundred pounds with one hand. It’s also why spring adjustment is the one garage door task that regularly sends confident homeowners to the emergency room with broken wrists and facial injuries. Yet most checklists floating around online list “inspect springs” as a routine DIY item with no warning attached. That’s the gap this guide closes. Below you’ll find a task-by-task checklist for Canarsie homeowners that draws a hard line between what’s safe to handle yourself, what you should look at but never touch, and what belongs to a trained technician. You’ll also get a lubrication schedule built for Brooklyn’s humidity and winter road salt, model-specific opener tests, and a printable record you can keep for warranty purposes.
Quick Answer
A safe garage door maintenance routine for Canarsie homeowners covers four things: monthly visual checks of springs, cables and rollers; lubrication every four to six months given the humidity off Jamaica Bay; quarterly balance, travel-limit and auto-reverse tests on your opener; and an annual professional inspection of springs, cables and tension. Spring adjustment, cable replacement and any work involving tension are technician-only jobs because the stored torque can cause serious injury. Everything else on this checklist you can safely do yourself.
Styles & brands we work with
- Raised-panel steel
- Carriage house
- Modern flush
- Full-view glass
- LiftMaster openers
- Chamberlain openers
Table of Contents
- Task-by-Task Safety Classification
- The Canarsie Lubrication Schedule
- Testing Balance, Travel Limits and Auto-Reverse
- What Wear Looks Like at 3, 7 and 12 Years
- Keeping a Seasonal Maintenance Record
- Your Monthly Walk-Around Checklist
- Common Mistakes to Avoid
- When to Call a Professional
Task-by-Task Safety Classification
Not every garage door task carries the same risk, and treating them all as equal is how people get hurt. We sort every maintenance job into three buckets: homeowner-safe, inspect-only, and technician-only. Here’s how that breaks down.
Homeowner-safe (do these yourself):
- Wiping down and lubricating hinges, rollers, tracks and the torsion bar bearings with a proper garage door lubricant
- Testing the auto-reverse feature with a roll of paper towels
- Checking the photo-eye sensors for alignment and debris
- Inspecting the bottom seal for cracks and clearing leaves or grit from the tracks
- Testing the door balance by hand with the opener disengaged
- Listening for new noises and noting where they come from
Inspect-only (look, don’t touch):
- Torsion springs: check for gaps, rust streaks or a stretched, uneven coil, but never wind or unwind them
- Cables: check for fraying or slack, but never adjust tension
- Bottom brackets and drums: look for wear, but never loosen the hardware that holds cable tension
Technician-only (stop and call):
- Any adjustment of torsion or extension spring tension
- Cable replacement or re-tensioning
- Replacing bottom brackets, drums or the torsion bar
- Straightening a bent track that has pulled away from the frame
- Any repair where the door is stuck open, stuck closed or hanging unevenly
The reason for the split is simple physics. A wound torsion spring is under constant load, and releasing that load the wrong way turns a metal rod into a projectile. A trained technician uses winding bars and understands how to control the release. A homeowner with a pair of screwdrivers does not. When a spring lets go, our Garage Door Repair Canarsie team treats it as a priority call because a door that won’t open is also a door that won’t lock.
The Canarsie Lubrication Schedule
Canarsie’s climate asks more of a garage door than a dry inland climate does. Summer humidity coming off Jamaica Bay works its way into hinges and rollers, and winter road salt tracked in from the Belt Parkway and nearby streets drifts onto tracks and bottom seals. Both speed up corrosion. That’s why a four-to-six-month lubrication cycle makes more sense here than the once-a-year advice you’ll read on generic checklists.
Here’s the schedule we recommend:
- Early spring (after winter). Clean salt residue and grit from the tracks with a damp cloth, dry them, then lubricate hinges, rollers, bearings and the torsion bar with a lithium- or silicone-based garage door lubricant. Never use WD-40 as a lubricant on the door mechanism; it displaces moisture but doesn’t leave a lasting film.
- Midsummer (before peak humidity). Re-apply lubricant to hinges and rollers. Humidity swells wood door panels and can make metal parts drag, so check that the door still moves freely.
- Late fall (before the first freeze). Lubricate again and wipe down the bottom seal. This is also the time to check that the door isn’t binding, since cold weather makes a stiff door stiffer.
- After any heavy snow or salt event. Rinse the tracks and bottom of the door with plain water and dry them. Salt sitting on painted steel or aluminum for weeks is what starts rust blisters along the bottom panel.
If your door is wood, add a visual check of the paint and stain each spring. Canarsie’s humidity is hard on wood panels, and peeling paint lets moisture into the grain. For doors with steel or aluminum skins, a quick touch-up on any scratch keeps rust from spreading through a Brooklyn winter.
Testing Balance, Travel Limits and Auto-Reverse
Your opener and your door are two separate systems, and both need testing. A door that’s out of balance makes the opener work harder, which shortens its life. A door whose travel limits are wrong can slam down or stop short of the floor. Here’s how to test each one safely, quarter by quarter.
Balance test:
- Close the door and pull the emergency release cord to disengage the opener.
- Lift the door by hand to about halfway. It should stay there with light effort.
- Lower it slowly. If it drops on its own or needs real force to lift, the springs are out of balance. Don’t try to correct that yourself. Call a technician.
- Re-engage the opener by pulling the cord back and running the door once to reset.
Travel limits (model-specific):
On a LiftMaster or Chamberlain opener, the travel limits are usually set with up and down adjustment screws on the back or side of the motor unit, or through the control panel on newer models. The door should close fully to the floor without compressing the seal, and open fully to the top of the track without banging the stop bolt. Genie openers typically use a similar screw setup, though the location varies by model. Raynor openers may pair with a variety of head units, so check the manual that came with your specific unit. If you don’t have it, the manufacturer’s model number on the motor housing will point you to the right settings.
Auto-reverse test:
- Place a roll of paper towels flat on the floor in the door’s path.
- Close the door using the wall control or remote.
- When the door contacts the roll, it should reverse and travel back up.
- If it doesn’t reverse, stop using the door and call for garage door opener repair. A door that won’t reverse is a serious safety hazard, especially in a household with kids or pets.
Also test the photo-eye sensors monthly. Wave a hand or a broom handle through the beam while the door is closing. If the door doesn’t reverse, the sensors are misaligned, dirty or faulty. A Clopay or Amarr door doesn’t change how the sensors work, but a heavier door with a failing reverse is more dangerous, so don’t put this test off.
What Wear Looks Like at 3, 7 and 12 Years
A door that lives through Brooklyn weather ages in predictable ways. Knowing what to look for at each stage helps you plan ahead instead of getting surprised. Here’s what we typically see at each milestone of use.
Around 3 years:
- Rollers start to show flat spots and begin making a rumbling sound as they roll through the track.
- Hinges may squeak between lubrication cycles, especially in humid summer months.
- The bottom seal begins to crack or compress, letting in drafts and, in Canarsie, the occasional driving rain.
- Cables are usually still sound, but they may show light surface rust where salt has reached them.
Around 7 years:
- Cables show visible fraying or kinks. That’s a replacement signal, not a wait-and-see.
- Rollers are often due for replacement as a full set.
- Torsion springs are nearing the end of their typical cycle life for a door used daily. A spring can fail suddenly, so this is when an annual professional inspection pays off.
- Panels may show paint fading or minor dents from daily use, and the bottom panel may have rust along the edge from salt exposure.
Around 12 years:
- Multiple components wear at once: springs, cables, rollers and often the opener motor.
- Track alignment can drift, especially if the door has been bumped or the frame has settled.
- Repairs start adding up. This is often the point where a Canarsie homeowner weighs repair against garage door installation. A new door resets the clock on every wear item at once.
The pattern matters more than the exact year. A door used twice a day ages slower than one on a busy household schedule. Watch for the sounds and the feel of the door, not just the calendar. If the door gets louder, heavier or slower, something is wearing.
Keeping a Seasonal Maintenance Record
Paper trails matter when a warranty claim comes up, and they help a technician diagnose a problem faster. A simple record doesn’t take much effort. Here’s a format you can copy onto a sheet of paper and keep on a clipboard in the garage.
Set up four columns:
- Date of the task or inspection
- Task performed (lubrication, balance test, sensor test, professional inspection, repair)
- What you noticed (squeaks, rust spots, uneven travel, new noises)
- Who did the work (yourself or a technician, with the invoice number if it was a repair)
Then break the year into four seasonal rows:
- Spring: post-winter salt clean and lubrication, balance test, visual spring and cable check.
- Summer: humidity-cycle lubrication, auto-reverse and sensor test.
- Fall: pre-freeze lubrication, bottom seal check, weather stripping check.
- Winter: post-salt rinse, listen for new noises, note any stiffness or slowdown.
Staple receipts and invoices to the sheet as you go. If a spring or opener fails and you need a warranty claim, a dated record showing regular maintenance strengthens your position. It also lets a technician see how a part has worn over time rather than guessing. When you call for garage door repair, you’ll have the history ready.
Your Monthly Walk-Around Checklist
Ten minutes once a month catches most of the small problems before they become expensive ones. Walk around the door with the opener disengaged. Here’s what to look at:
- Look up at the torsion springs on the header. Check for gaps between the coils, rust streaks or a noticeably stretched spring. Don’t touch; just look.
- Follow each cable from the drum down to the bottom bracket. Frayed strands or a slack cable mean a call to a technician.
- Run your eyes along both tracks. They should be straight and parallel. Grit, leaves or small debris can cause a door to bind.
- Inspect rollers and hinges for visible wear, cracks or loose screws. Tighten any loose hinge screws you can reach safely.
- Check the bottom seal for cracks, tears or missing sections, and clear any debris from the threshold.
- Test the photo-eye sensors by waving a hand through the beam while the door is closing.
- Listen for new noises: a rumble, a grind, a bang, or a door that labors on the way up.
Write your findings on the seasonal record. Anything that involves springs or cables goes on the list for a professional inspection, not the DIY pile. If a monthly walk-around turns up a door that won’t open at all, that’s when you call Garage Door Repair Canarsie for urgent help. A door that won’t close fully or won’t lock leaves your home and vehicle exposed, and that’s a security issue, not just a garage issue.
Common Mistakes to Avoid
- Adjusting springs yourself after watching a video. A torsion spring holds hundreds of pounds of force even when it looks relaxed. Winding bars and technique matter, and a slip can break a wrist or worse. Leave spring work to a technician.
- Using WD-40 instead of a real lubricant. It’s a solvent and displaces moisture, but it doesn’t leave a lasting film. On a Canarsie door fighting humidity and salt, you want a lithium- or silicone-based garage door lubricant that holds up through the season.
- Ignoring a failing auto-reverse. A door that won’t reverse when it hits an object is a genuine safety hazard. Test it monthly, and if it fails, stop using the door until it’s repaired.
- Letting salt sit on the bottom panel. Road salt tracked in through winter sits on painted steel and aluminum and starts rust where you can’t see it. Rinse and dry after heavy salt events instead of waiting until spring.
- Skipping the annual professional inspection. Springs, cables and drums wear in ways that are hard to judge by eye. An annual inspection catches a fatigue crack before it becomes a broken spring at 7 a.m. on a workday.
- Forcing a door that’s hung up. Pulling, shoving or repeatedly hitting the opener button on a stuck door can bend panels, strip the opener gear or damage the track. Stop and diagnose.
- Chasing the cheapest fix on a spring or cable. This is safety-critical hardware. A bargain repair that fails later is worse than a correct one done the first time, and a warranty claim is hard to press without proper documentation.
When to Call a Professional
Some problems are worth a phone call the moment you spot them. Call if a torsion spring has snapped, if a cable has come off its drum or started to fray, if the door is hanging crooked or won’t move at all, or if the auto-reverse feature fails during a test. Call if you’ve heard a loud bang from the garage and the door won’t lift. Call if your Genie, Chamberlain or other opener is cycling oddly, clicking without moving, or losing its travel settings. And call if the door has been hit by a car or a heavy object, because panel and track damage is rarely fixable with an adjustment. Garage Door Repair Canarsie offers free estimates in Canarsie. Call (844) 443-4493.
See the difference
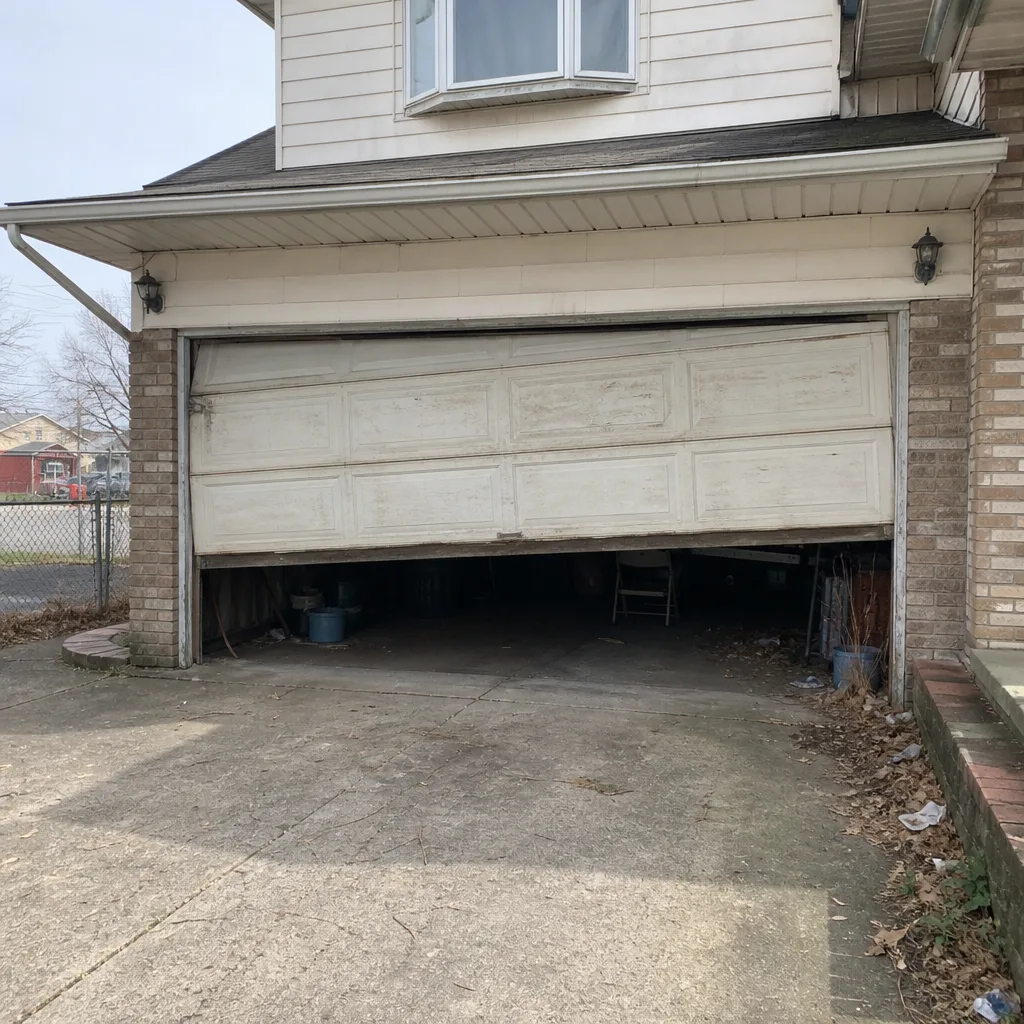 Before
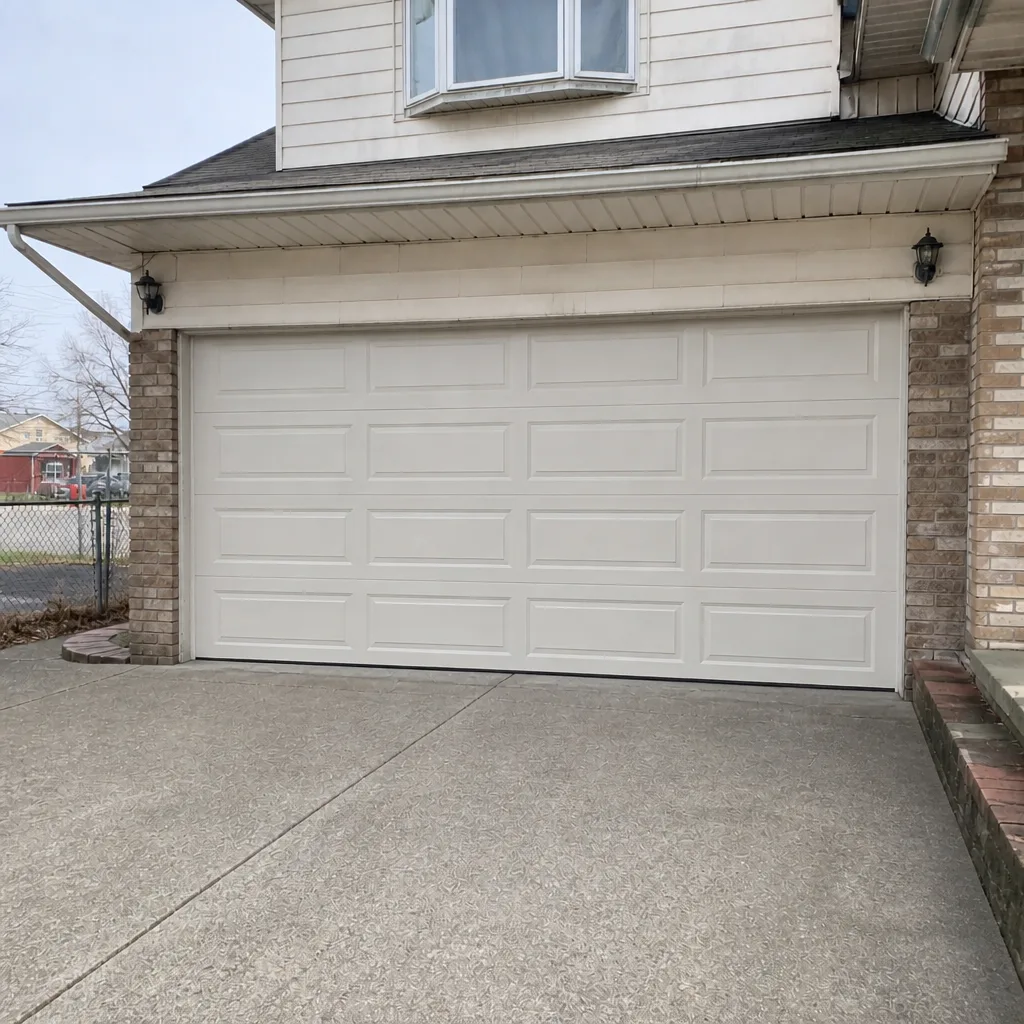 After
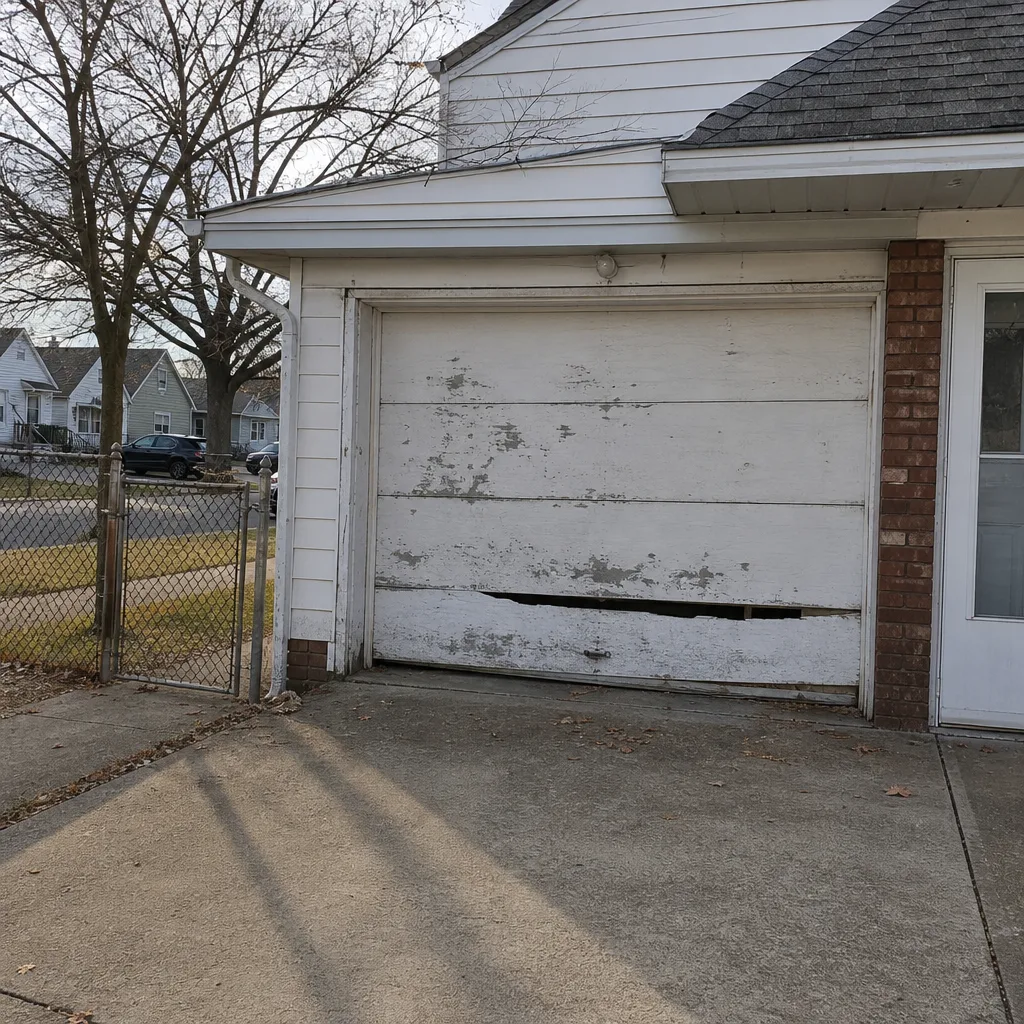 Before
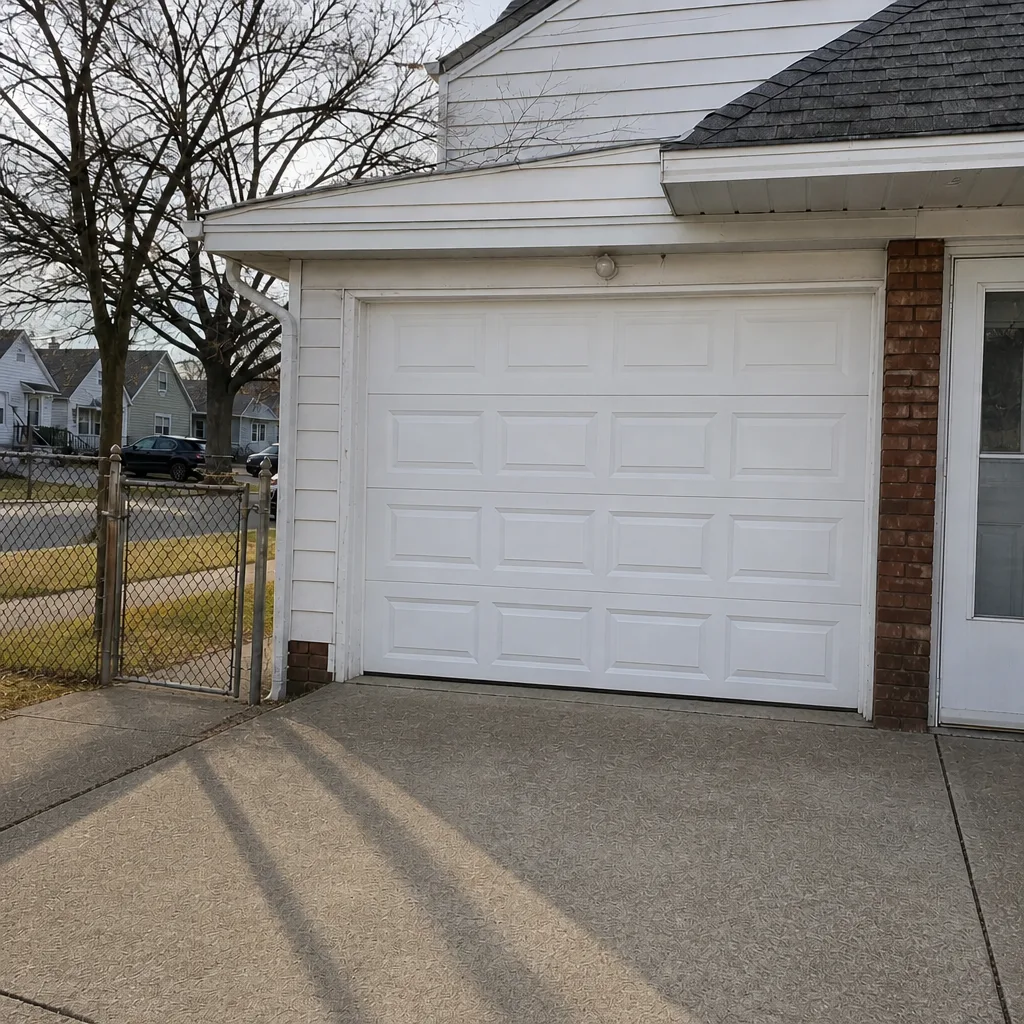 After
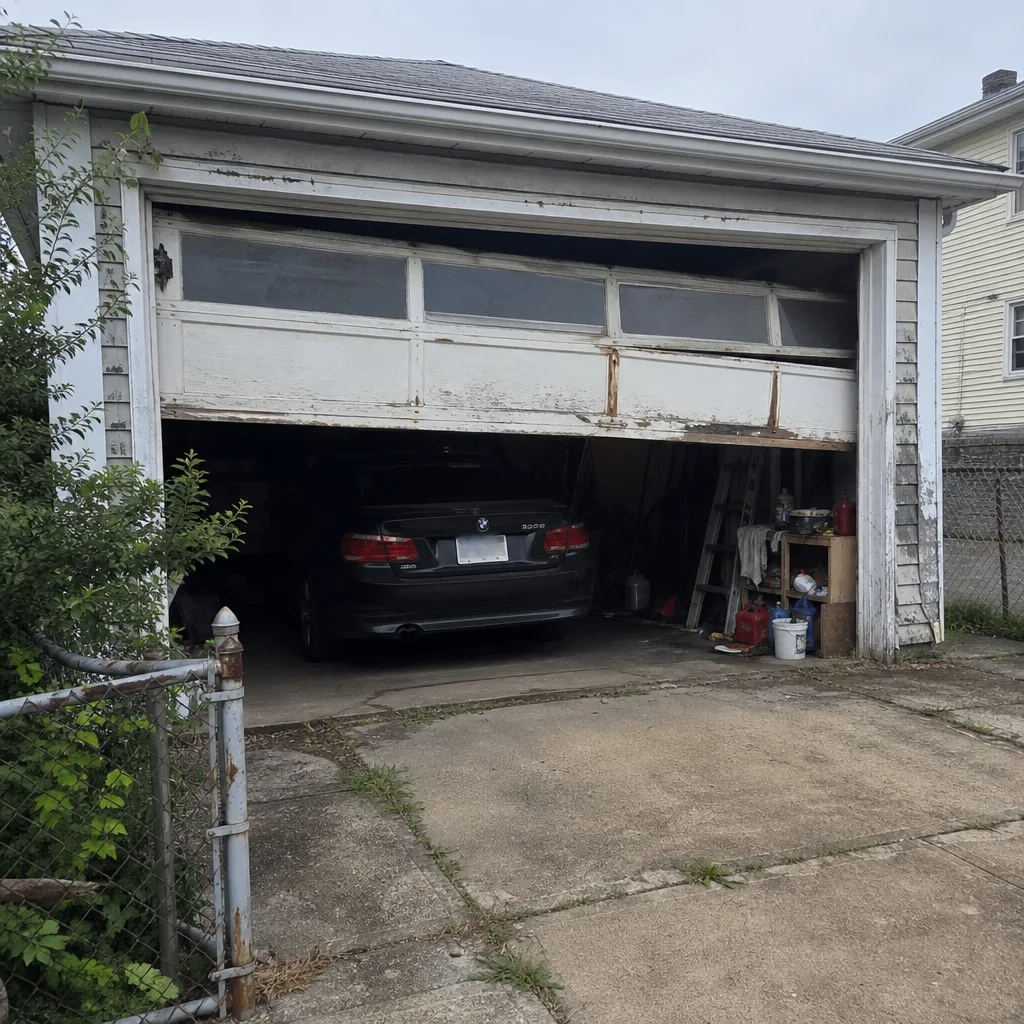 Before
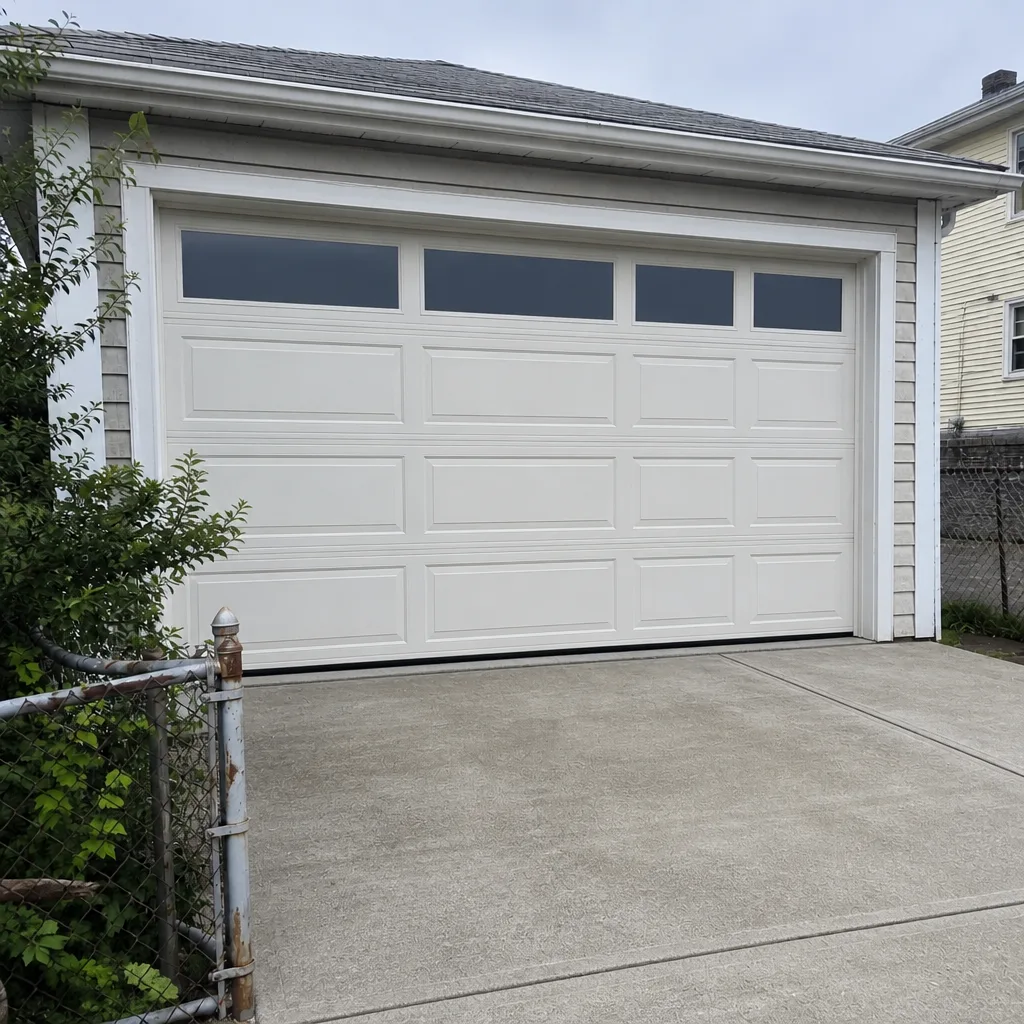 After
Frequently Asked Questions
Every four to six months is the right rhythm in Canarsie because humidity off Jamaica Bay and winter road salt both accelerate wear on hinges, rollers and bearings. We suggest lubricating in early spring after winter, again before peak humidity, and once more before the first freeze. Rinse and dry the tracks after any heavy salt event rather than waiting for the scheduled cycle.
No. Torsion spring adjustment is not a homeowner task, and no checklist that lists it as one is giving safe advice. A wound spring holds roughly 100 foot-pounds of torque on a standard two-car door, and releasing that energy without the right tools and technique causes serious injury. Visual inspection is fine. Adjustment, winding or replacement belongs to a trained technician.
Place a roll of paper towels flat in the door’s path, close the door with the wall control, and watch for it to reverse when it contacts the roll. If it doesn’t reverse, stop using the door until it’s repaired. Also test the photo-eye sensors by waving a hand through the beam while the door is closing; both tests should be done monthly.
A stretched coil with a visible gap, rust streaks on the spring, a door that feels much heavier to lift by hand, and a loud bang from the garage followed by the door not lifting are the common signs. If you notice any of these, call for an inspection before using the door. Spring work is safety-critical, and a failing spring can let go without much warning.
Yes. Salt tracked in through winter settles on the bottom panel, tracks and bottom seal and starts corrosion where it isn’t obvious. Rinsing the tracks and the bottom of the door with plain water and drying them after heavy salt events is the simple fix. A springtime clean and lubrication clears what’s left and protects the moving parts for the rest of the year.
Yes, once a year. The monthly walk-around catches visible wear like squeaks, loose screws and failing sensors, but springs, cables and drums fail in ways that are hard to catch by eye. An annual professional inspection checks tension and fatigue that a homeowner can’t safely evaluate. It’s also the point where a technician can flag a part that’s nearing the end of its life before it fails.
The Bottom Line
A maintenance checklist earns its name by telling you which tasks are safe and which will put you in the ER. In Canarsie, add humidity and road salt to the equation, and the schedule tightens: lubricate every four to six months, test the balance, travel limits and auto-reverse quarterly, and rinse the salt off after winter storms. Visual inspection of springs and cables is always fine. Touching them never is. Keep a dated record so you have documents for a warranty claim, and don’t skip the annual professional inspection. If the door is stuck, hanging crooked or making a sound it didn’t make last month, call us instead of forcing it. For garage door opener repair or a full system check, our team has up to 14 years of experience and works on eight leading brands, including Chamberlain, Genie, Clopay and Amarr, so we can sort the problem without pushing you toward a brand you didn’t choose.
If something on this checklist has you stuck, or a spring has gone quiet on a door you need working, call (844) 443-4493 for a free estimate in Canarsie. We’ll walk through what we see, explain what’s safe to leave alone and what needs fixing now, and give you a written price before any work starts.
Written by the team at Garage Door Repair Canarsie.