Last updated November 21, 2026
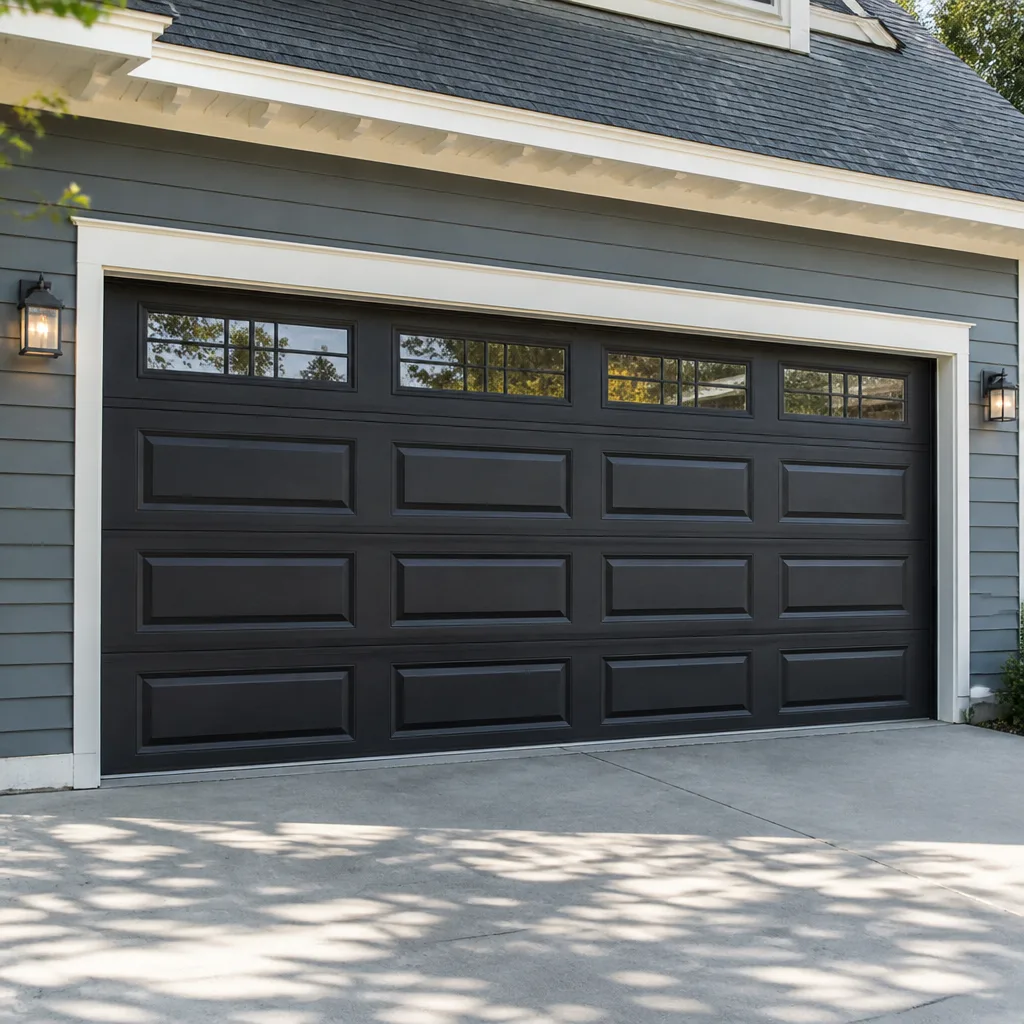 Raised-panel steel
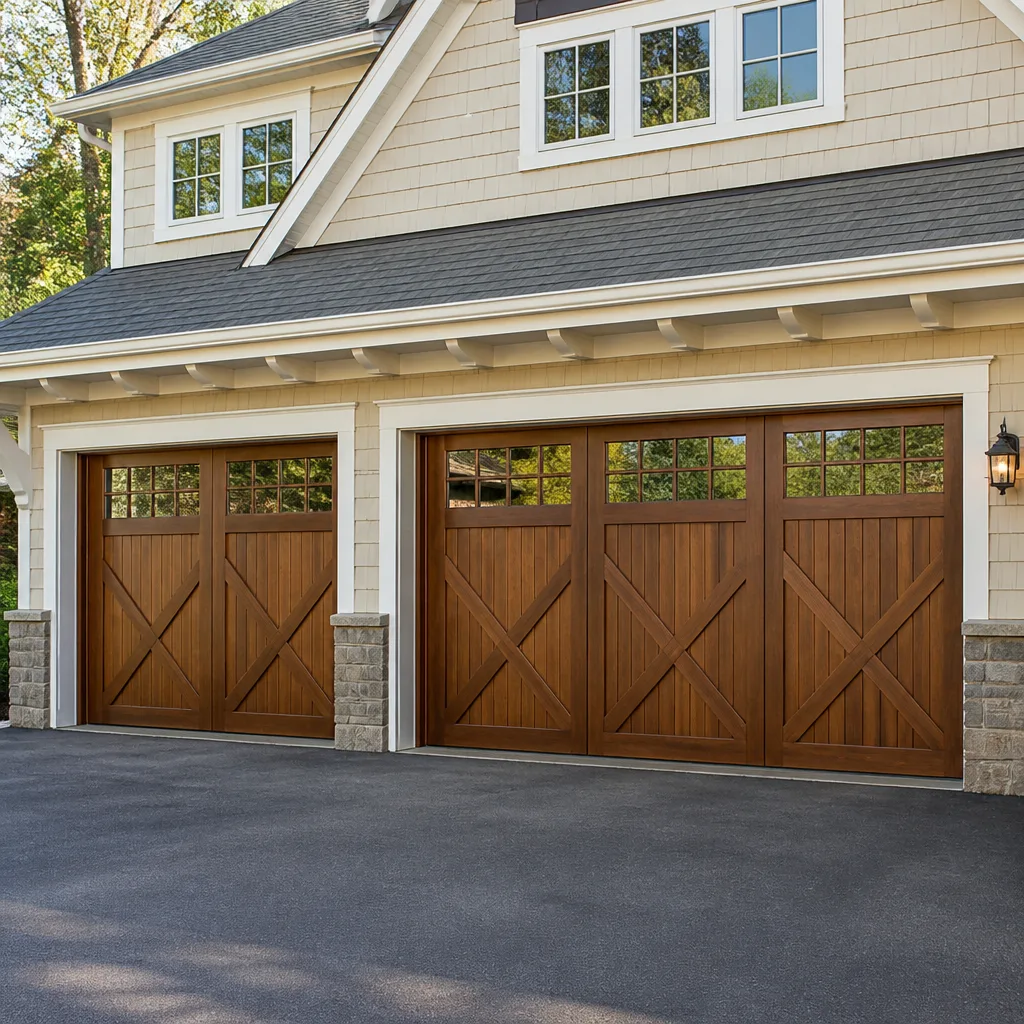 Carriage house
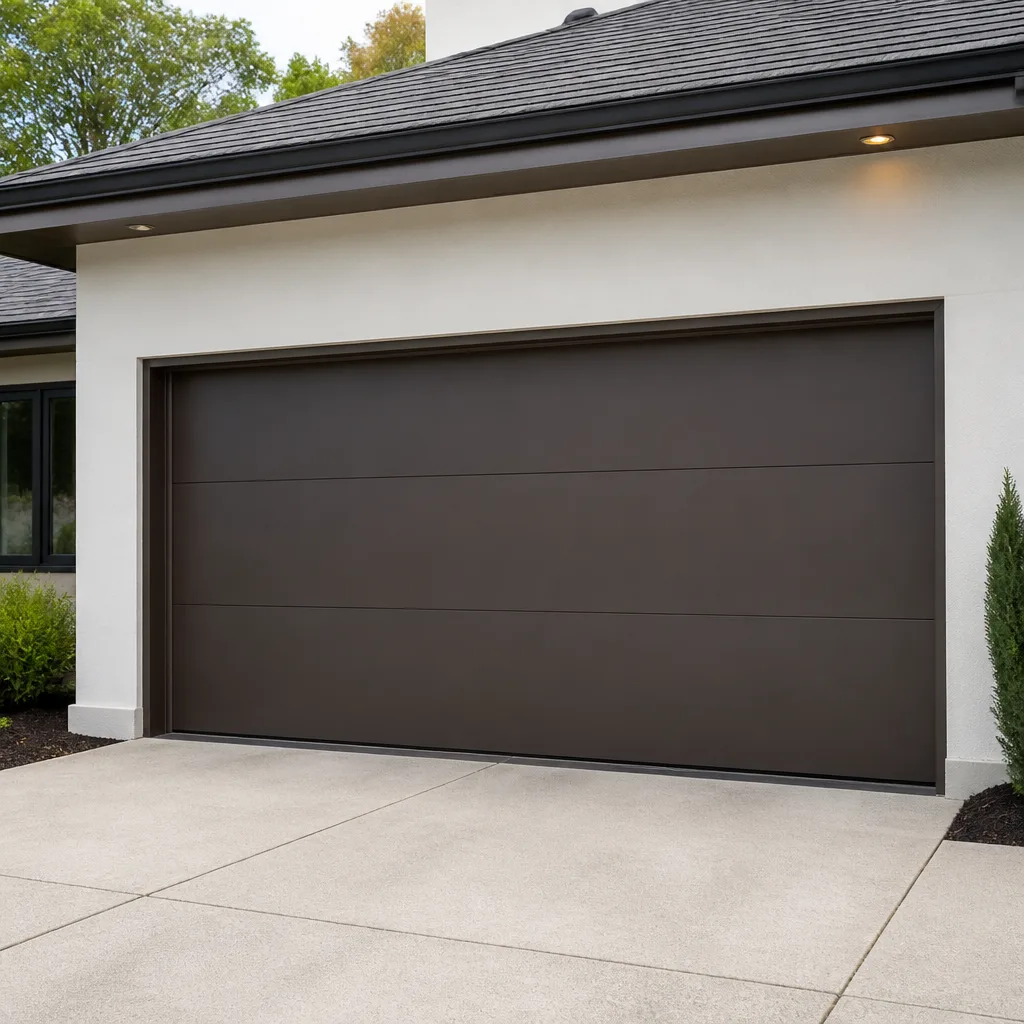 Modern flush
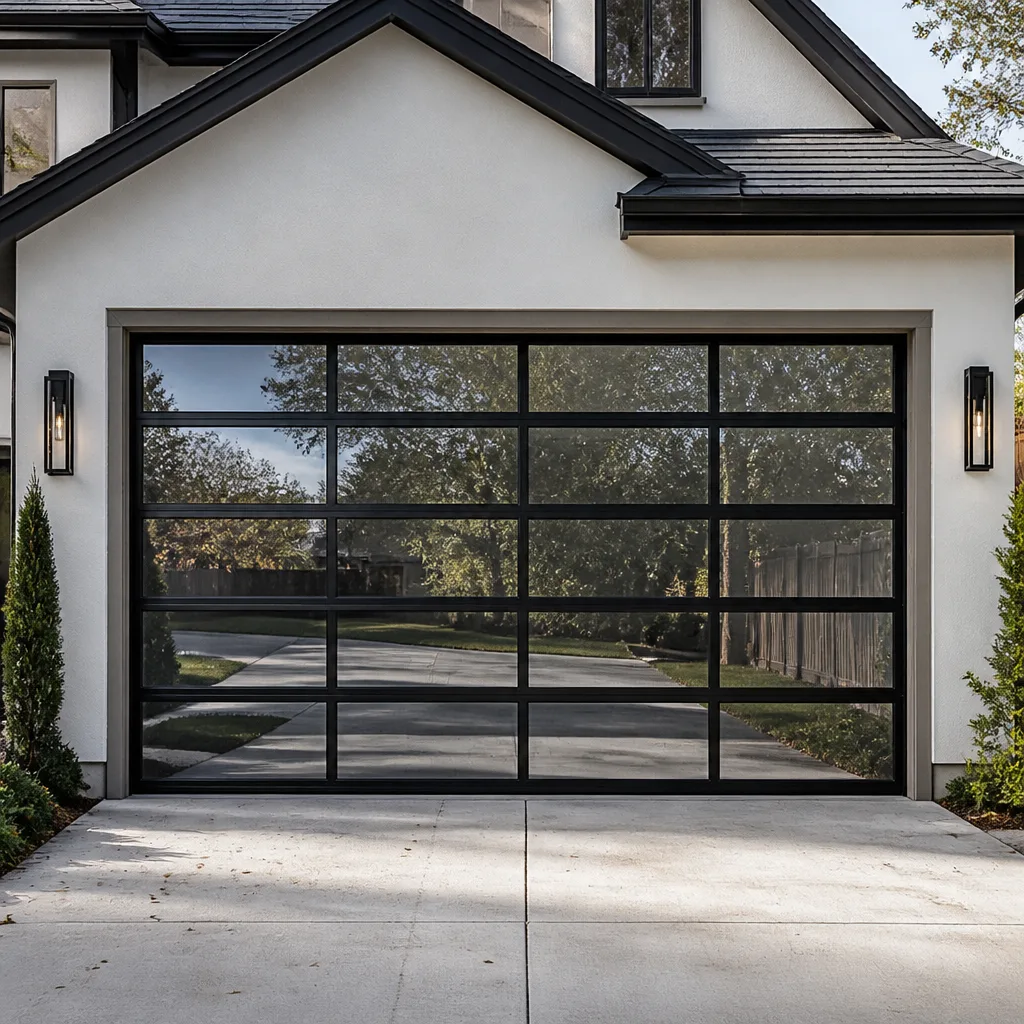 Full-view glass
 LiftMaster openers
 Chamberlain openers
Full 25-point door and opener safety check with every visit - springs, cables, rollers, tracks, and your LiftMaster or Chamberlain opener included
You get a price before we start. It does not change when the pro arrives.
Get your free estimateDIY vs Professional Garage Door: The Canarsie Homeowner’s Decision Guide
Most garage door advice treats “DIY or call a pro” as a money question. It isn’t. You can safely replace a bottom seal, lubricate rollers, and repaint panels yourself. You cannot safely adjust torsion spring tension without a winding bar, specific training, and the knowledge that a slip can release stored energy with the force of a small vehicle crash, and no video changes that physics. The real answer changes component by component, and it changes again when you’re working in a Canarsie attached garage with barely enough headroom to stand a ladder. This guide breaks the decision down part by part: tools, skill, failure consequences, and the point where DIY labor costs more than a quote.
Quick Answer
In Canarsie, DIY garage door work makes sense for seals, lubrication, cosmetic fixes, and the sensors that keep a door from closing on a person or car. Springs, torsion cables, and anything under load are professional work, full stop. Everything in between (rollers, hinges, drums, opener logic boards) depends on your tools and confidence. The decision is not about the whole door; it’s about which component you’re touching.
Styles & brands we work with
- Raised-panel steel
- Carriage house
- Modern flush
- Full-view glass
- LiftMaster openers
- Chamberlain openers
Table of Contents
- The Component-by-Component Test: What You Can Safely Touch
- What Each Job Actually Requires: Tools, Skill, and Failure Consequence
- Why a Canarsie Attached Garage Is Harder Than the Manual Assumes
- The True Cost of DIY: A Break-Even Framework
- The Three Jobs That Void Manufacturer Warranties
- Partial DIY: How to Prep the Job and Cut Billable Time
- Row-House vs Detached: A Canarsie Reality Check
- Why Spring Work Is a Different Category of Risk
The Component-by-Component Test: What You Can Safely Touch
Think of a garage door as three systems stacked on top of each other. The cosmetic layer (panels, paint, weatherstripping) is yours. The moving hardware layer (rollers, hinges, tracks) is mostly yours with the right tools. The load-bearing layer (springs, cables, drums, bottom brackets) is where a mistake can injure you or someone standing nearby, and that layer belongs to a trained technician. Our technicians have up to 14 years of experience, and every one of them treats spring and cable work with the same caution.
Here’s the practical breakdown for a Canarsie homeowner deciding what to tackle:
- Fully safe for DIY: bottom seal replacement, weatherstripping, lubrication, track cleaning, panel repainting, photo-eye alignment, remote battery swaps, and clearing debris from the door’s path.
- Doable with comfort and tools: roller and hinge replacement, tightening track bolts, adjusting the opener’s travel and force limits from the manual, and resetting a LiftMaster or Chamberlain unit that has thrown a fault code.
- Professional-only: torsion spring replacement, extension spring replacement, cable replacement, drum and bottom-bracket work, any attempt to rewind or adjust spring tension, and diagnostics on a door that has come off its track or is hanging unevenly.
The dividing line is stored energy. Springs and cables hold a door’s full weight in tension. When that tension releases unexpectedly, it doesn’t care how careful you are or how many videos you watched. If a job requires touching that tension in any way, stop and call a pro. In our experience across Canarsie, the only repair that turns a minor inconvenience into a serious injury is spring work gone wrong.
What Each Job Actually Requires: Tools, Skill, and Failure Consequence
Before you decide, be honest about what you own and what you’ve actually done before. A ladder and a screwdriver is not a toolkit for garage door work. Here’s the component-by-component reality, with the consequence of getting it wrong:
Bottom seal and weatherstripping. Tools: a screwdriver, utility knife, and the right replacement seal. Skill: low. If you get it wrong, you get drafts and water intrusion, not injury. Caulk and redo it.
Rollers and hinges. Tools: wrenches, pliers, a new set of nylon rollers, and a ladder flat enough for the space. Skill: moderate. If you install a roller in the wrong sequence, the door can bind, and a binding door strains the opener motor until it burns out.
Photo-eye sensors. Tools: a screwdriver and the manual. Skill: low to moderate. If misaligned, the door simply refuses to close. That’s a safe failure, just an annoying one. This one is fine to try.
Opener travel and force settings. Tools: the opener manual (LiftMaster and Chamberlain both publish clear settings tables). Skill: moderate. If force is set too high, the door won’t reverse on a low obstacle. That’s a safety issue, not a convenience one.
Torsion springs, cables, and drums. Tools: winding bars, proper knowledge of the spring’s stored energy, and physical control. Skill: high. If done wrong, the spring can release suddenly, the cable can snap, or the door can drop. Stop here.
Track realignment after a door comes off. Tools: pry bars and patience. Skill: high. If you leverage a bent track back into place, the door may bind and pull a hinge or cable. This is a job for someone who’s seen the failure modes before.
That last category is where most Canarsie homeowners hit the wall. Save the receipts for your spring and cable parts and put the money toward a call. For roller and hinge work, look for nylon or sealed-bearing rollers rather than metal ones; they run quieter and last longer in a door that gets used every day.
Why a Canarsie Attached Garage Is Harder Than the Manual Assumes
Garage door manuals assume a clean, four-foot-wide working area on each side of the door, a ladder stable enough to stand on while you raise both hands, and enough overhead room to swing a torsion bar. A typical attached Canarsie garage does not offer any of that. Many were built when a car was smaller and storage was an afterthought. They are narrow enough that the car has to be backed in carefully, they have low headroom, and the walls are often lined with shelving or a water heater in the corner.
That space matters in three specific ways for a DIY attempt:
- Low headroom changes how torsion hardware is installed. A standard torsion assembly needs room above the door for the springs and the winding bars. Low-headroom setups use a different layout, sometimes a rear-mount torsion bar, and many homeowner manuals don’t cover it at all. If you can’t stand fully upright on a step ladder and swing a bar, you can’t safely work on the springs.
- Cable tracking and drum replacement need clean access to both sides. In a tight single-car garage, one side is usually blocked. A technician can work around it. A first-timer working off a leaning stepladder often can’t.
- Opener installation needs headroom and a stable ceiling mount. A Chamberlain or Genie opener hung from a narrow ceiling joist in a low garage has very little tolerance for alignment. If the rail is even slightly off, the door binds and the motor works overtime.
Canarsie’s housing stock makes this concrete. The neighborhood’s mix of attached garages, alley access, and converted single-car bays means “standard” measurements from a manual often don’t match what’s actually there. When you add a door and opener install, that mismatch becomes a scheduling problem. The right move is a free on-site measure and a written price, not a guess from the box. That’s why we treat garage door installation as a measure-first project rather than a same-day swap.
The True Cost of DIY: A Break-Even Framework
Here’s where the DIY question actually gets interesting. On a $20 bottom seal, DIY almost always wins. On a $150 component that could turn into a $250 repair after a mistake, DIY probably doesn’t. The break-even calculation isn’t just parts versus labor; it’s parts plus the risk of rework plus your time plus the chance you make it worse.
Work through this framework before you buy parts:
- Add up the real parts cost. Include shipping, a new tool you don’t own, and anything you might break while taking it apart.
- Estimate your time honestly. Multiply by what an hour is worth to you. A DIY attempt that eats a Saturday afternoon and a second trip to the hardware store has a real cost.
- Assign a probability of rework. If there’s a real chance you’ll call a pro anyway after a failed attempt, price that in. A failed roller job, a misaligned opener, or a track that won’t line up usually costs more on the second visit than it would have on the first.
- Add the safety factor for load-bearing parts. On springs and cables, the physical risk alone makes the calculation lean pro, even before you compare dollars.
In practice, the break-even favors DIY on simple, reversible jobs: seals, rollers, photo eyes, battery swaps, and painting. It favors professional work on anything where a failure means a door that won’t open, a track that’s bent, or an injury. That’s the same logic behind our garage door repair pricing: an honest diagnosis first, a written estimate before work starts, and no surprises at the bill. For Canarsie homeowners, the estimate is the point where you can compare the real professional number to your DIY math instead of guessing at it.
The Three Jobs That Void Manufacturer Warranties
Manufacturers build warranty language for the reality of improper installation. Three categories most consistently draw a void when the work isn’t done by a certified technician:
- Opener electrical work and control board replacement. Wiring the opener wrong or replacing a logic board without matching model and platform can void the motor and board warranty. LiftMaster and Chamberlain units in particular have specific compatible-part requirements, and a mismatched board usually means no coverage on the electronics.
- Torsion spring and cable replacement with unrated parts. If a spring isn’t matched to the door’s weight and cycle rating, the warranty on that spring and on the door’s balance system can be refused. A spring that’s the wrong gauge wears out fast and takes other hardware with it.
- Installation of the door or opener itself. Most manufacturers void installation and labor coverage when a non-certified installer does the mounting, tracks, and tuning. A Genie or Chamberlain opener hung and tuned by a certified tech keeps the full install warranty.
Enforcement varies by brand. In our experience, the strictest brands are the ones with the tightest cycle ratings and specific part requirements for their springs and openers. The practical answer is simple: if the door or opener is still under the original manufacturer’s warranty, call a professional. A $150 spring repair is cheaper than an unwarranted $800 opener swap. For Canarsie, that’s the easiest DIY-versus-pro call you’ll ever make.
Partial DIY: How to Prep the Job and Cut Billable Time
You don’t have to choose between doing everything and doing nothing. A lot of the time a technician spends on a job is prep and cleanup, not the repair itself. Do that prep yourself and you’ll shave billable time off the visit, and you’ll touch nothing dangerous to do it.
Here’s what homeowner prep looks like in practice:
- Clear the work area. Move the car out, pull the shelving off the walls, and clear the floor under the door. A technician who can work without moving boxes is faster, and a clear floor is a safety requirement.
- Note the symptoms precisely. Write down what the door does, what it sounds like, and when it started. “The door goes up three feet and stops” saves ten minutes of diagnosis versus “it’s broken.”
- Photograph the opener’s model label. A clear photo of the LiftMaster or Chamberlain model plate tells us exactly which parts to bring, which can mean one visit instead of two.
- Locate any warranty paperwork. Have the door and opener manuals and receipts ready. It speeds up the warranty decision and the right-part selection.
- Lubricate the rollers, hinges, and tracks beforehand if that’s on the list. A dry track and squeaky rollers are common complaints, and lubrication is fully within DIY reach. Use a garage-door-specific lubricant, not grease that will attract grit.
On the schedule side, be clear about what partial DIY doesn’t buy you. It doesn’t get the door measured for a new install, and it doesn’t touch a spring. Those are the parts a pro has to handle, and taking five minutes of prep off the visit is a legitimate way to save. Estimate is free, and the technician’s time is what you’re really comparing.
Row-House vs Detached: A Canarsie Reality Check
Canarsie’s housing mix changes the DIY calculus in ways a generic guide misses. A row-house owner with a shared wall and a narrow, attached garage has almost no working room, and the door is usually a light-gauge single-car panel. A detached garage, more common on some of Canarsie’s larger lots, gives you more elbow room and often a heavier door. That’s not a small difference; it’s the difference between a job you can safely learn on and a job you shouldn’t.
Row-house garages add a second constraint: the garage often doubles as storage, and pulling the car out to work means emptying shelves. Multiply that by a second floor tenant’s stuff and the DIY time estimate doubles. In a detached garage, you can leave everything in place and work from the driveway. Same door, very different experience.
There’s a third factor: the neighbor’s side of the wall. On a row house, a door that binds and flexes the shared frame can affect the structure beyond your garage. If you’re unsure whether the door is a load-bearing shared-wall setup, that’s a conversation for a professional, not a weekend project. The practical advice is to have a Canarsie-specific pro look at the door once, tell you what’s safe, and let you handle the rest. For a first assessment on a bound or unbalanced door, garage door repair in Canarsie is the honest place to start.
Why Spring Work Is a Different Category of Risk
We get asked to explain this more than any other part of the trade, so here’s the plain version. A torsion spring holds the full weight of the door in stored energy. When you unwind it, you’re controlling that energy with two bars, your grip, and your body position. A slip doesn’t just fail the repair; it can release the spring, whip a cable, or drop the door. This is why spring repair isn’t a task we’d hand a homeowner with a YouTube tutorial, and it’s not a task we subcontract. It’s a core service, done carefully, with the right tools.
That doesn’t mean you should panic about springs. It means you should know the boundary. The safe check you can do yourself is visual: look at the spring for a visible gap, kink, or heavy rust, and listen for a loud snap followed by a door that won’t lift. If any of those appear, don’t run the opener; call a technician. Do not try to lift or prop the door or reach into the mechanism. On the opener side, a garage door opener repair is a different job with different tools, and it’s usually safe to attempt basic troubleshooting from the manual before you call.
Same principle for electrical and gas-adjacent work: wiring the opener to a new circuit and any high-voltage troubleshooting belongs to a trained professional. If your Canarsie garage has older wiring or you’re unsure of the amperage, stop and call. Our technicians have up to 14 years of experience with these systems, and we’d rather see you slow down than hurt yourself.
Common Mistakes to Avoid
- Underestimating how much headroom you need for spring work. If you can’t stand on a step ladder and swing a bar freely, you can’t safely do the job. That’s true on many Canarsie attached garages.
- Lifting a door to “test” a spring after it snaps. The door is heavier than you think without spring tension, and a sudden drop can cause a serious injury. Leave it down and call.
- Replacing one spring when it’s a pair. Springs on a two-spring door are matched, and one new spring on an old pair throws the balance off and stresses the older one. Plan for the pair.
- Buying an opener from a big-box store and rewiring the existing setup. The mounting, track, and force settings on a Chamberlain or LiftMaster are specific, and a mismatch damages the electronics. Measure and match, or have a professional do it.
- Adjusting the opener’s force setting to fix a sticking door. The force setting is a safety limit, not a power control. If the door needs more force to move, the problem is in the door, not the opener.
- Leaving the door on a bent track to save a call. A bent track will eventually pop a roller or cable, and the repair grows. Get it looked at before it fails.
- Ignoring door weight. A Canarsie row-house garage door is often lighter than a detached garage door, so a spring that’s correct for one is wrong for the other. Match the spring to the door, never the other way around.
See the difference
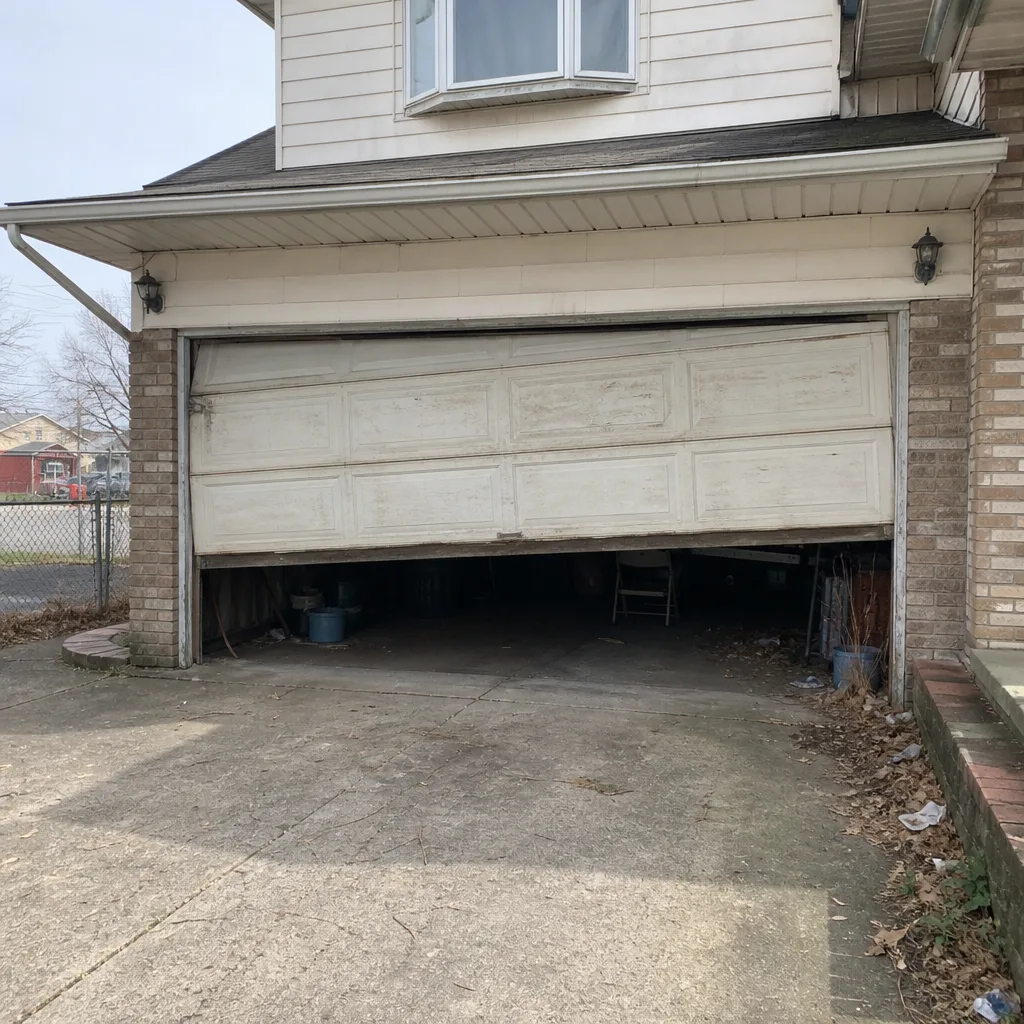 Before
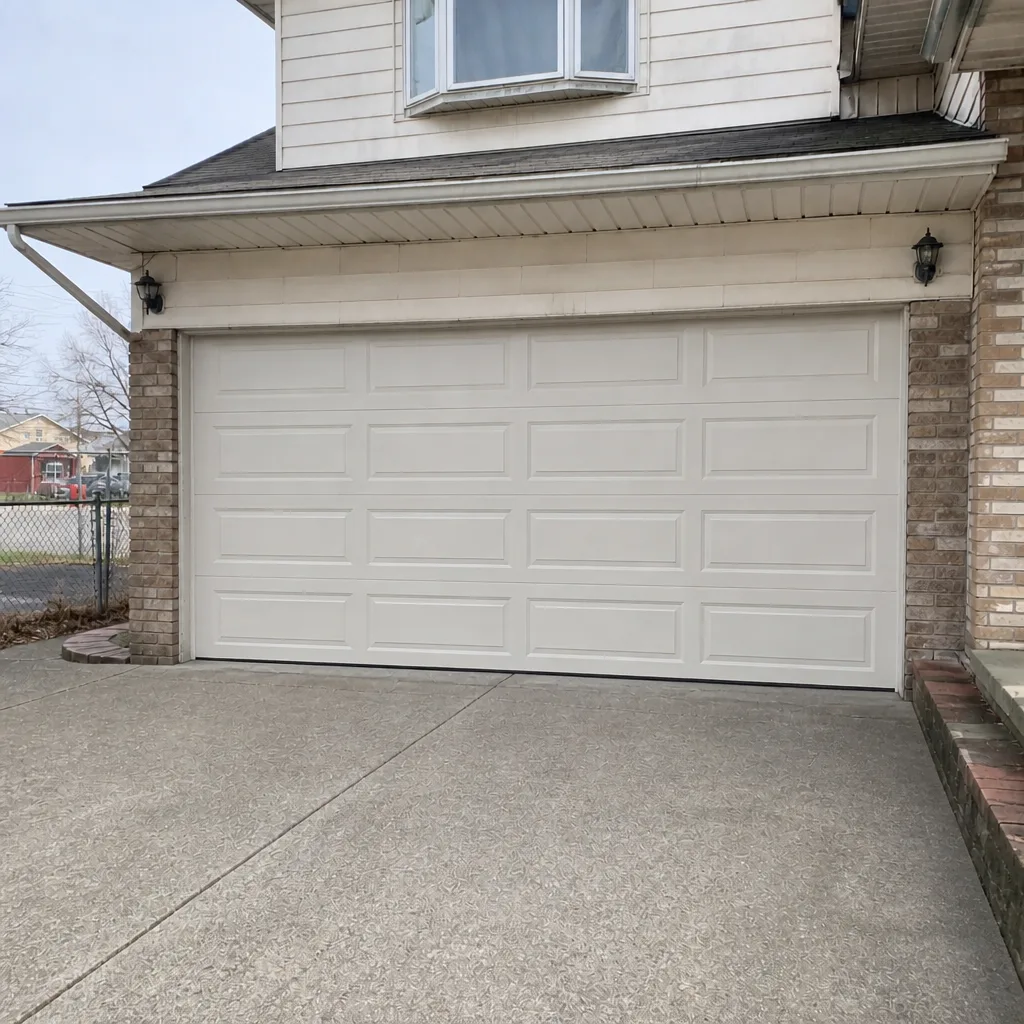 After
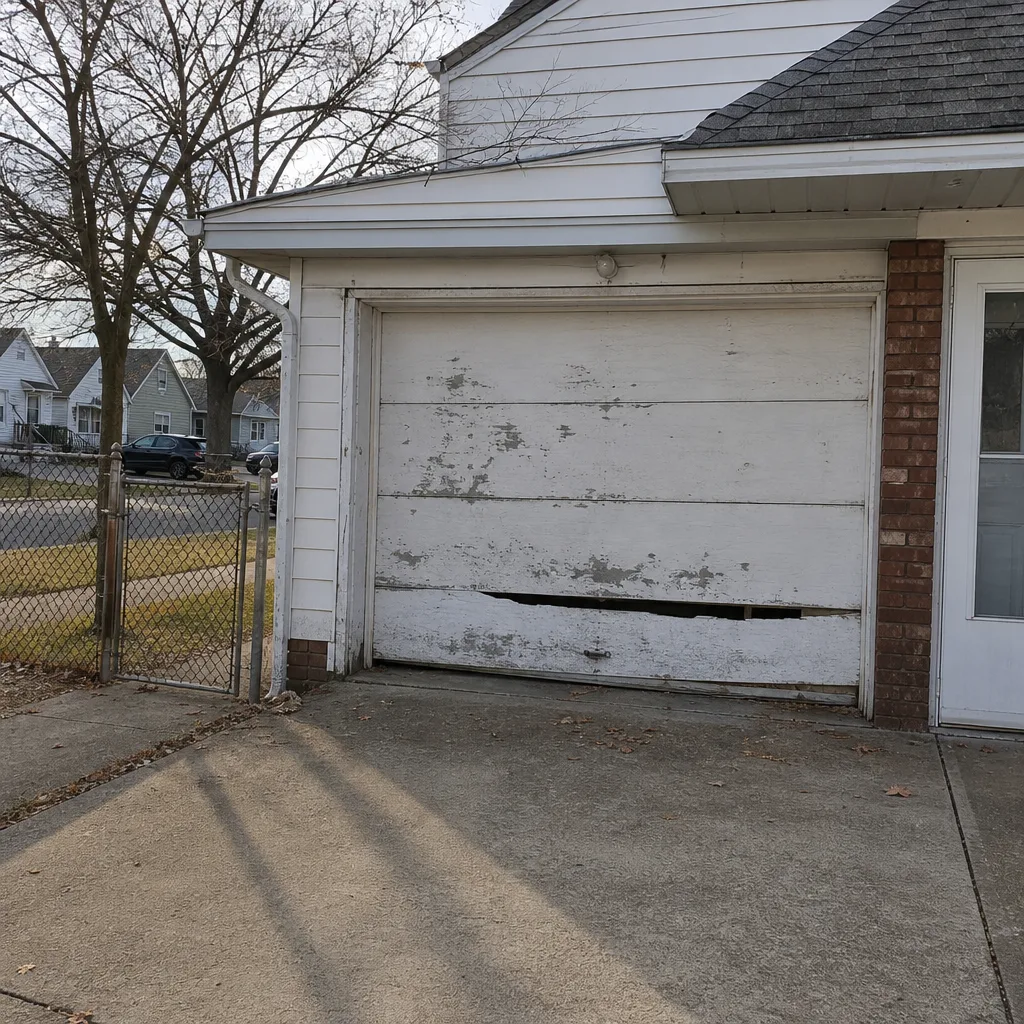 Before
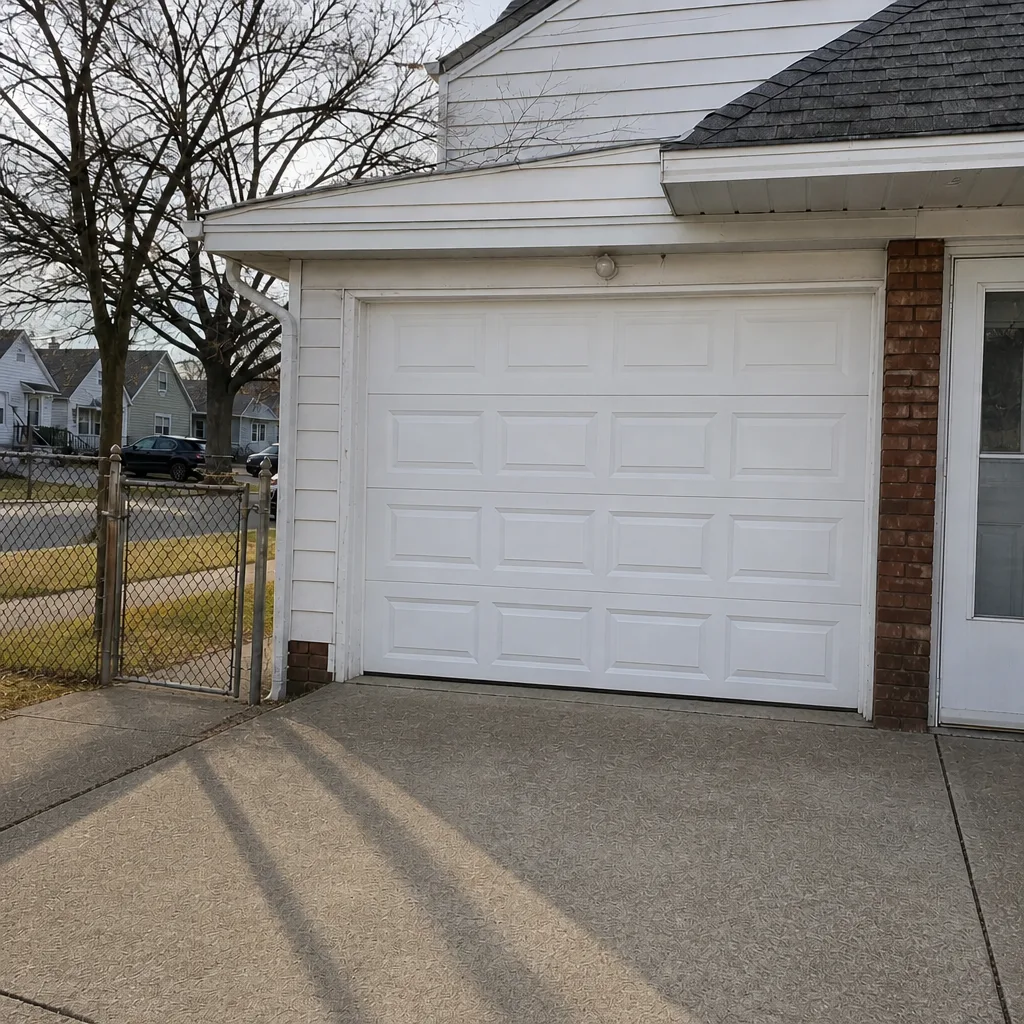 After
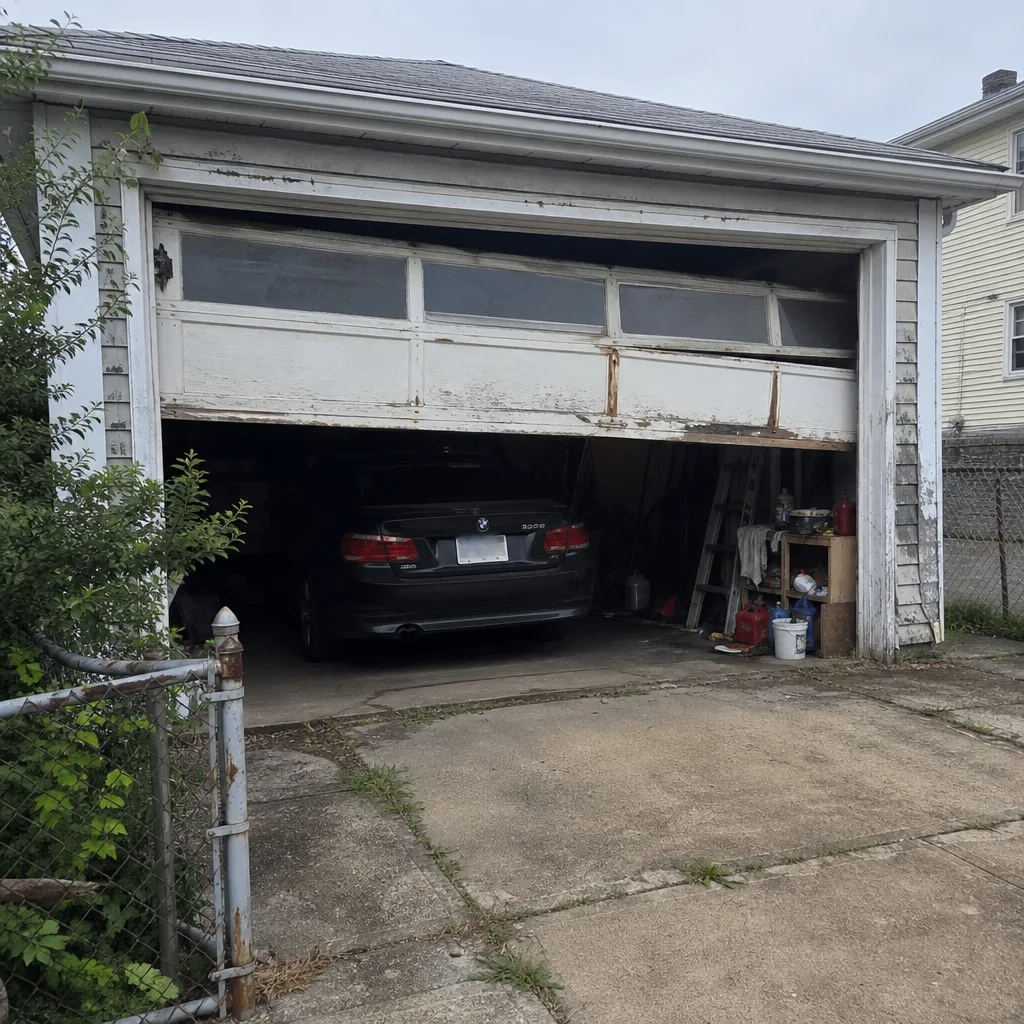 Before
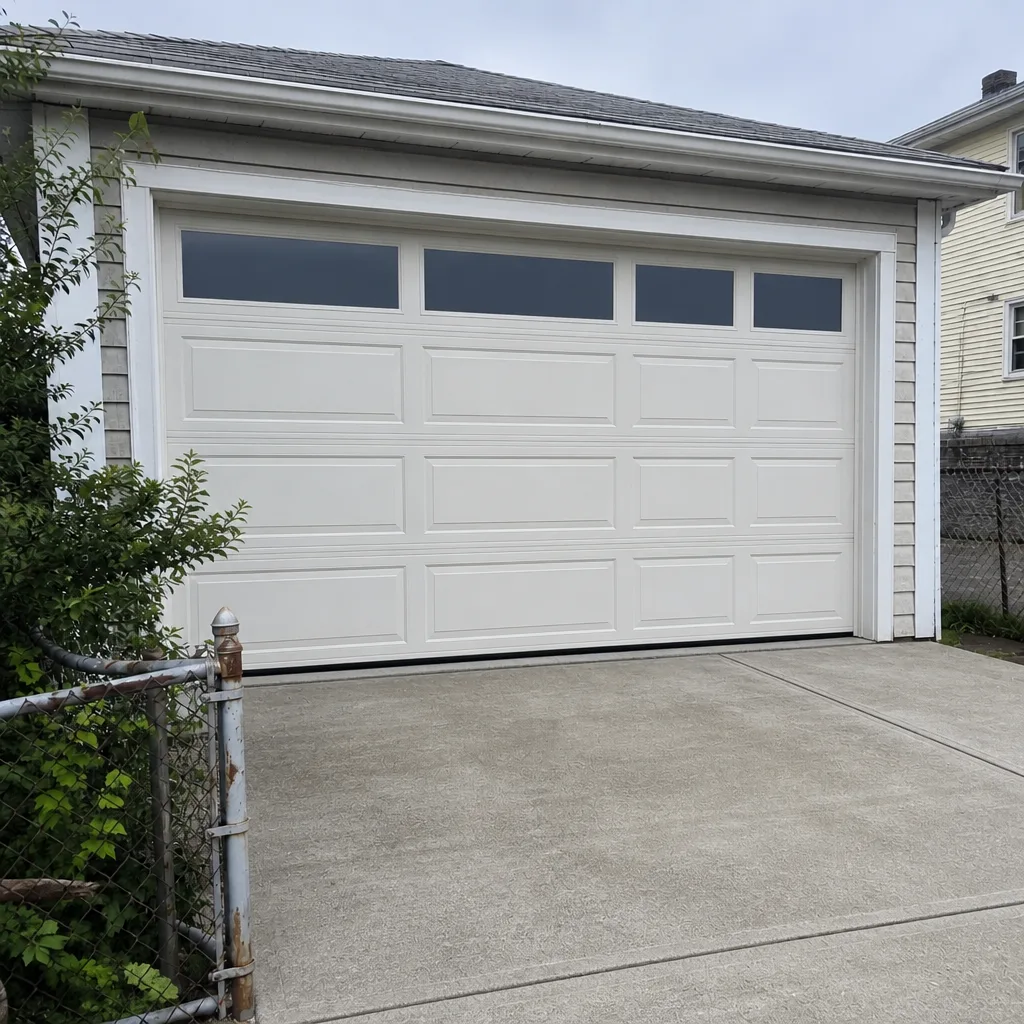 After
When to Call a Professional
Call a professional when the job requires touching spring tension, replacing a cable or drum, dealing with a door that came off its track, or installing or replacing a whole door or opener. Also call if the door is under warranty, if the diagnosis isn’t obvious, or if you’re not sure what’s wrong. Beyond that, if your Canarsie home is a row house with a narrow attached garage, a pro saves you from the space constraints that make many DIY attempts fail.
The brands you own don’t force a choice, either. If your door is a Raynor, a Clopay, an Amarr, or a Wayne Dalton, or your opener is a LiftMaster, Chamberlain, Genie, or Craftsman, a qualified professional works with all of them. We work on your brand, not just ours. Garage Door Repair Canarsie offers free estimates in Canarsie, with a written quote before any work starts, no pressure, and the estimate is the price. Call (844) 443-4493 for a free estimate.
Frequently Asked Questions
No. A torsion spring holds the full weight of the door under stored tension, and unwinding or adjusting it safely requires winding bars, training, and physical control. A slip can injure you or damage the door. This is the one garage door repair where a professional is the only safe answer, and it’s the reason spring work is a core service, not an upsell.
You can safely handle the bottom seal, weatherstripping, lubrication, roller and hinge replacement, panel repainting, photo-eye alignment, and remote or battery changes, as long as you have the right tools and a stable place to stand. Anything involving spring tension, cables, drums, or a door off its track is professional work. Call (844) 443-4493 for an exact quote if you’re unsure which category yours falls into; estimates are free.
It can. Wiring an opener wrong, replacing a control board with a mismatched part, or installing a door or spring without certified work are the three categories most commonly refused by manufacturers. In our experience, brands with tight cycle ratings and specific part requirements are strictest about enforcement. If your product is still under warranty, have a professional handle it, and keep the paperwork handy.
It depends on the parts involved and the damage, and the honest answer is a written estimate before any work starts. A small roller job is far cheaper than a door that needs a track, spring, or opener component. Tell us at the start if you’ve already attempted a repair so the diagnosis accounts for anything you may have knocked out of alignment. Call (844) 443-4493 for a free estimate on the actual condition of your door.
In many cases, yes, and it’s worth calling. A door that won’t close leaves your garage and sometimes your home open to the street, so treat it as urgent: call (844) 443-4493, mention that it’s a same-day issue, and we’ll do what we can to get a technician out. If the door fails on a Saturday, call and we’ll book the next available day. For a free estimate on a non-urgent repair, call the same number.
Replace both. Springs on a two-spring door are matched pairs, and one new spring on an old pair throws the balance off and puts extra stress on the older one. If one has failed, the other is usually close behind, so replacing the pair now avoids a second service call later.
The Bottom Line
DIY versus professional garage door work isn’t a single decision; it’s a component-by-component call. Seals, rollers, photo eyes, lubrication, and paint are yours to handle safely. Springs, cables, drums, and a door off its track are professional territory, and that’s about physics, not skill. In a Canarsie attached garage, tight headroom makes the DIY side harder than the manual suggests, so measure your workspace honestly before you start. When in doubt, get a free estimate, compare the written number against your DIY math, and decide from there. The written quote is the price, and it’s free.
Call (844) 443-4493 for a free estimate on your Canarsie garage door, along with a written quote before any work starts. We work on the major brands, from LiftMaster and Chamberlain to Genie, Clopay, Amarr, Wayne Dalton, Craftsman, and Raynor, and we service springs, openers, repair, and full installation. A technician with the right experience will give you the honest answer on what you can do yourself and what you shouldn’t touch.
Written by the team at Garage Door Repair Canarsie.