Last updated November 21, 2026
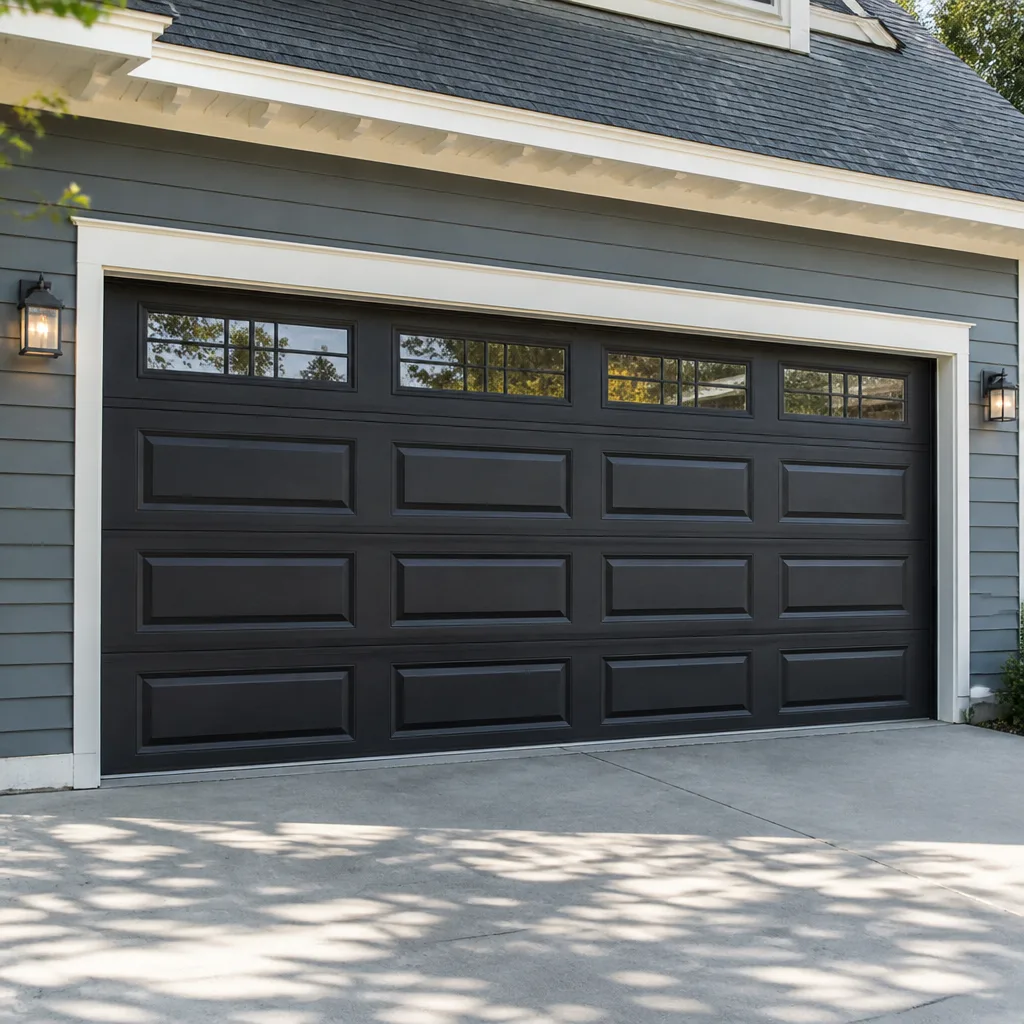 Raised-panel steel
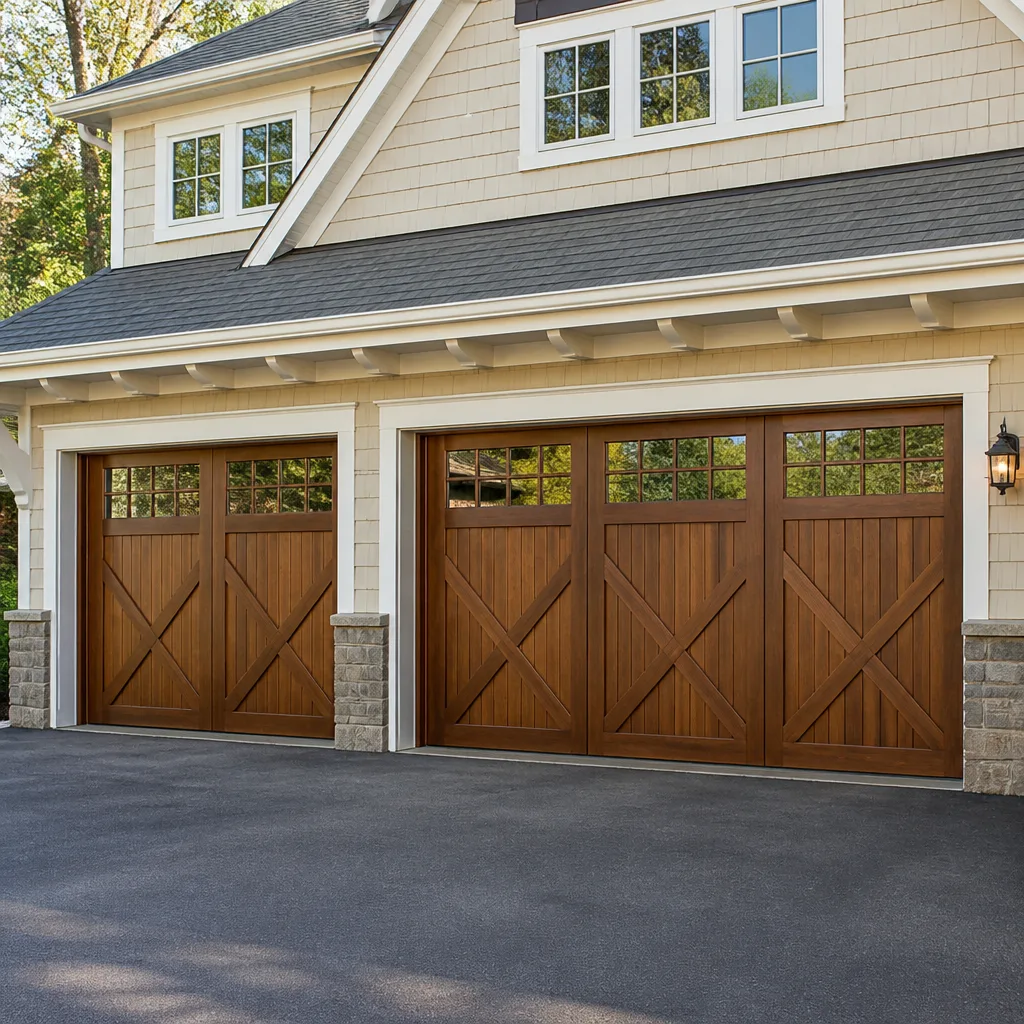 Carriage house
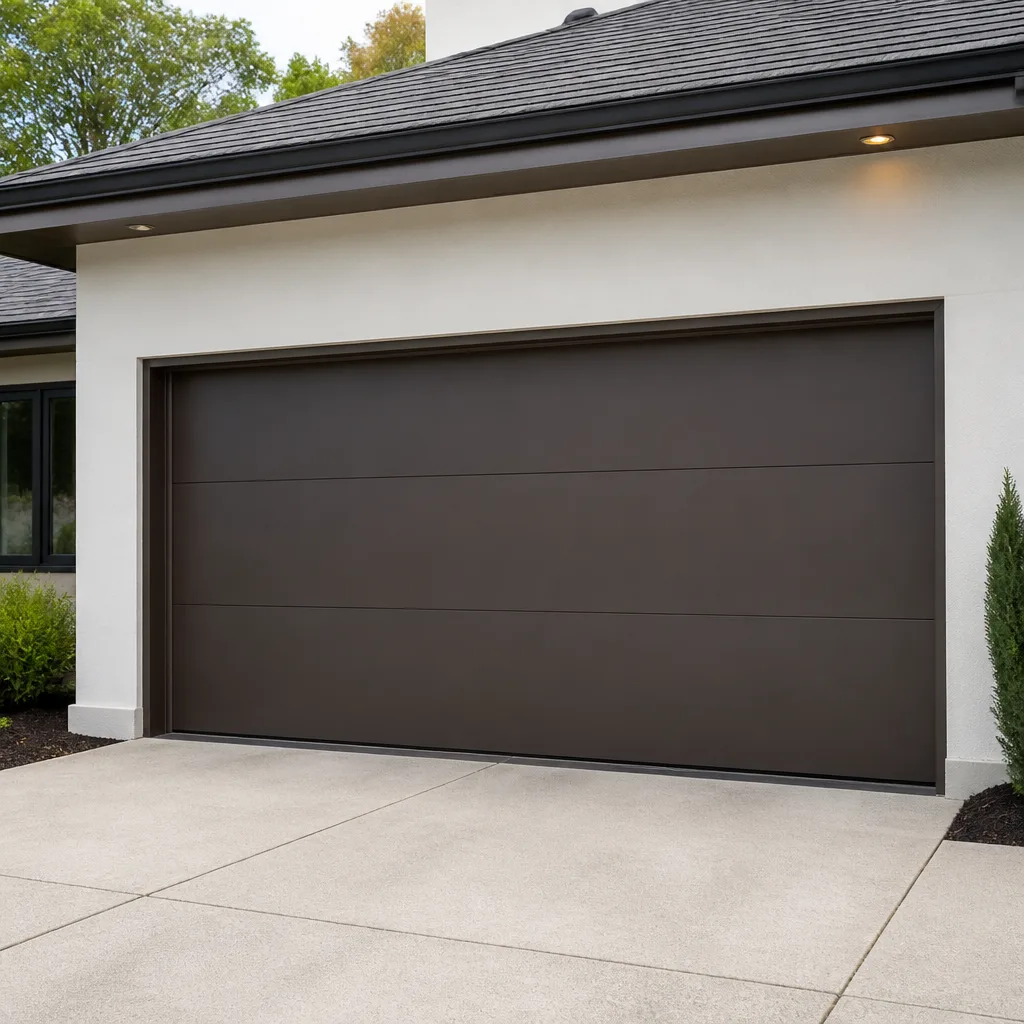 Modern flush
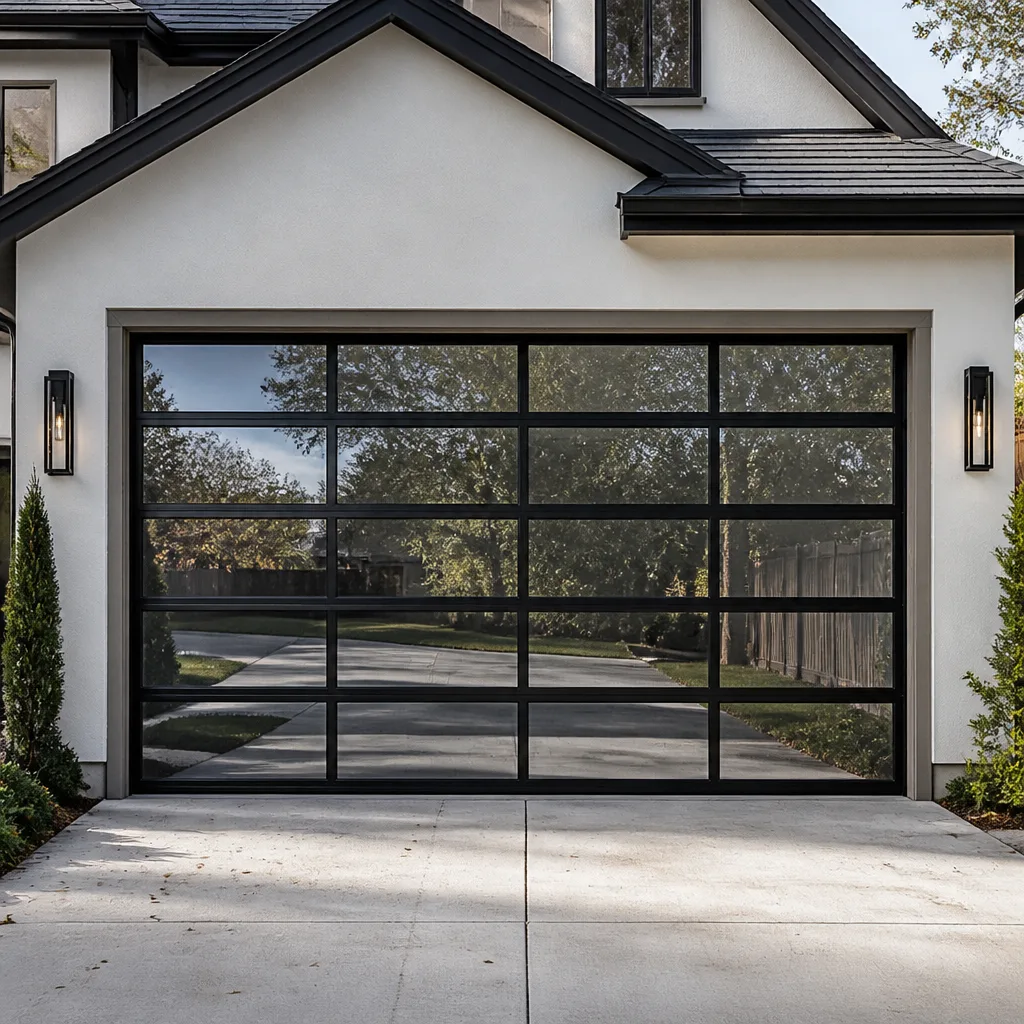 Full-view glass
 LiftMaster openers
 Chamberlain openers
Full 25-point door and opener safety check with every visit - springs, cables, rollers, tracks, and your LiftMaster or Chamberlain opener included
You get a price before we start. It does not change when the pro arrives.
Get your free estimateGarage Door Repair Troubleshooting in Canarsie: Common Problems and How to Fix Them
A garage door that reverses before it hits the floor isn’t broken. It thinks it is. Something interrupted the safety beam or tripped the travel limit, and the opener did exactly what it was built to do: stop and back off. That single miscalibrated sensor has sent plenty of Canarsie homeowners down a repair rabbit hole for a problem that takes a few minutes to diagnose. This guide is built on a different idea. Instead of chasing the symptom, you chase the system failure behind it. A grind, a gap, a blinking light, a door that stops halfway. Each one points to a specific mechanical or electrical source, and once you know which, you stop paying for the wrong fix. Below we map symptoms to causes, separate the checks you can safely do yourself from the ones you shouldn’t touch, and show you where the local weather comes into play.
Quick Answer
Most garage door problems in Canarsie trace back to one of five sources: a misaligned safety sensor, a worn or broken spring, a stripped gear in the opener, a track knocked out of alignment, or a remote that lost its setting. Reversal and blinking-light issues are almost always sensor or limit-switch related, while grinding and uneven movement usually mean spring, roller or track trouble. You can safely check sensor alignment, remote batteries and obstructions yourself; torsion spring, cable and opener-gear work should go to a trained technician because those parts store real force and can cause serious injury.
Styles & brands we work with
- Raised-panel steel
- Carriage house
- Modern flush
- Full-view glass
- LiftMaster openers
- Chamberlain openers
Table of Contents
- Symptom-to-System Map: What Each Failure Is Telling You
- Why Does My Garage Door Reverse Before It Hits the Floor?
- Why Is My Garage Door Grinding or Squealing?
- Why Does My Door Move Unevenly or Stop Halfway?
- Why Won’t My Door Respond to the Remote or Wall Button?
- How Brooklyn Humidity Speeds Up Specific Failures
- Reading Blink Codes Across Different Brands
- The Canarsie Triage Checklist: What to Check Before You Call
- DIY-Safe Checks vs. Hard-Stop Hazards
Symptom-to-System Map: What Each Failure Is Telling You
The fastest way to waste money on a garage door is to treat the noise as the problem. The noise is the messenger. A door is a system of moving parts working under tension: the springs balance the weight, the opener provides the push and pull, the tracks and rollers guide the travel, and the safety sensors act as the off switch. When any one of those is off, the symptom shows up somewhere else. Here’s how the common complaints line up with the actual source:
- Door reverses or won’t close: safety sensor misalignment, a blocked beam, or a travel limit set too short.
- Grinding or squealing: dry or worn rollers, a binding track, or a failing opener gear.
- Uneven movement or a door that binds on one side: a fatigued or broken spring, a bent track, or a frayed cable.
- Door won’t move at all: dead remote battery, a tripped breaker at the opener outlet, a loosened manual release, or a stalled motor.
- Door drifts back down a few inches after opening: a worn opener gear or a spring that’s lost its balance.
Read that list again and notice something: almost none of the symptoms match the part a homeowner usually blames. People hear grinding and assume the motor is dying, when it’s often a $10 roller or a track that needs a nudge back into alignment. People see the door reverse and assume the whole opener failed, when it’s usually the photo-eye sensor. In Canarsie, where a lot of homes have older doors and openers that have absorbed many humid summers, we see these misdiagnoses constantly. Getting the mapping right is half the repair. For a full range of what we handle, this is garage door repair at its core.
Why Does My Garage Door Reverse Before It Hits the Floor?
A door that reverses before touching the floor is almost always responding to its safety system, not failing. The opener believes something is in the way, so it stops and lifts. That’s the design working. The job is to figure out whether the sensor genuinely sees an obstruction or has simply drifted out of alignment.
The safety reverse system on most residential openers uses two photo-eye sensors mounted near the floor on each side of the door. One sends an infrared beam, the other receives it. If anything interrupts the beam – a stray leaf, a lawn tool, a bag of road salt – the door reverses. If the two eyes aren’t pointed squarely at each other, the beam never lands on the receiver, and the door behaves as if something is always in the way. This is the single most common “my door is broken” call that isn’t a repair at all.
What to check, in order
- Look for anything in the door’s path – boxes, trash bags, a rolled-up mat, kids’ toys.
- Check that both sensor eyes are lit. Most models show a solid indicator when the beam is clear; a blinking or dark light usually means misalignment or a wiring issue.
- Gently adjust each sensor until the beam lines up and the indicator goes steady. A loose bracket is often the culprit.
- Wipe the sensor lenses. Dust and grime from a busy street can fog the eye just enough to break the beam.
- If the door still reverses with the beam clear, the travel limits on the opener may be set wrong – that’s an opener adjustment, not a sensor problem.
We work on the brands homeowners actually have, not just one or two, so whether your system is a Genie, a Chamberlain, or a Wayne Dalton, the sensor logic is similar but the bracket and indicator details differ. If the eyes are clean, aligned and lit and the door still reverses, you’ve moved past a sensor issue and into opener territory. Our garage door opener repair service handles limit switches and control-board diagnostics on all the major brands. If this is your problem today, the fastest path is a quick call. A trained technician can tell you in minutes whether you’re looking at a five-minute alignment or a board that needs replacing.
Why Is My Garage Door Grinding or Squealing?
Grinding and squealing come from friction, and friction comes from parts that no longer move freely against each other. The trick is locating which part. A high-pitched squeal on travel usually means dry or worn rollers and hinges. A low grind that pulses with the door’s movement points more toward a binding track or a failing opener gear. A rhythmic squeak that repeats at a steady interval is often a single bad roller announcing itself once per wheel turn.
Separating the sources
- Dry rollers and hinges: squeal that changes pitch with speed. Usually the easiest fix – proper lubricant on rollers, hinges and the spring, not grease on the tracks.
- Bent or misaligned track: grind or scrape concentrated on one side, often after a bump from a car or a wind event. The door fights the track the whole way up.
- Worn opener gear: a chattering grind from the motor housing itself, often with the door moving sluggishly or not at all. A plastic drive gear wears over time and strips.
- Loose hardware: rattles and clatter from brackets and bolts that have worked loose.
One thing worth flagging here: never lubricate the tracks. It seems logical, but the rollers need to roll, not slide. Grease on the track collects grit, turns into a paste, and makes the grinding worse. Lubricate the moving parts, clean the tracks. If a track is bent, it needs to be straightened or replaced by someone with the right tools, because forcing it back into shape by hand can kink it further or knock the door out of balance. Canarsie homes with older steel tracks that have taken a few winters of temperature swings are prime candidates for a track that’s drifted out of true. If the grind isn’t coming from a dry roller, it’s time for a proper look.
Why Does My Door Move Unevenly or Stop Halfway?
A door that rises crooked, lags on one side, or stops partway up is fighting an imbalance. In a properly set-up door, the springs carry the weight and the opener just guides it. When a spring weakens or breaks, the opener suddenly has to lift a door that’s much heavier than it was designed for, and the symptoms show up fast: uneven travel, a door that can’t make it all the way up, or an opener that strains and cuts out on overload.
This is where the diagnosis matters most, because springs are the one part of a garage door that can hurt you. A torsion spring stores a large amount of energy, and a tension spring under load can release violently if handled wrong. We don’t give step-by-step spring instructions here on purpose. What we will tell you is how to tell whether springs are the issue, so you can describe it accurately and get the right help quickly.
Signs it’s a spring problem
- The door feels extremely heavy when you lift it by hand with the opener disengaged (test cautiously, and stop if it won’t budge).
- The door opens a foot or two and stops, then reverses.
- You can see a visible gap in a torsion spring above the door, or a stretched, hanging tension spring along the side.
- The door hangs crooked – one side higher than the other.
- You heard a loud bang from the garage at some point and the door hasn’t worked right since.
If you recognize your door in that list, don’t keep running the opener. Every cycle puts more strain on a motor that’s now lifting twice the weight it expects, and a burned-out opener is an added expense on top of the spring. Spring repair is exactly the kind of work we take on directly rather than farming out, because it’s the most technically demanding and safety-sensitive service in the trade. It’s a job for a trained technician, full stop. If a broken spring has left you unable to open the door, that’s an emergency situation for security and access, and we treat it as one.
Why Won’t My Door Respond to the Remote or Wall Button?
When the door doesn’t respond at all, work from the cheapest cause up. A dead remote battery is the most common reason and the least expensive to fix. A tripped breaker at the outlet the opener plugs into is next. Only after those come up empty should you suspect the opener’s logic board or the motor itself.
Run through this before you call anyone:
- Try the wall button, not just the remote. If the wall button works and the remote doesn’t, the problem is the remote or its battery, not the opener.
- Replace the remote battery. It’s a two-dollar fix that resolves a surprising share of “the opener died” calls.
- Check that the opener is receiving power – look for a light on the unit and check the outlet or breaker.
- Check the manual release. If someone pulled the red cord, the door is disengaged from the opener and won’t respond until it’s re-engaged.
- Look at the lock or vacation mode on the wall console, which locks out remotes.
If the wall button works but the remote doesn’t, and a fresh battery doesn’t solve it, the remote may need to be reprogrammed to the opener. That’s where brand differences show up: the pairing process for a LiftMaster myQ system is not the same as a Chamberlain unit, even though they share a lot under the hood, and a Craftsman or Genie remote follows yet another sequence. We handle opener repair across all the major brands, including the smart and connected systems, so a re-pairing or a board replacement is a single visit rather than a runaround. If your door is stuck open or stuck shut and you can’t get it to respond, that’s an emergency call – a door that won’t close leaves the home exposed, and one that won’t open traps the car.
How Brooklyn Humidity Speeds Up Specific Failures
Brooklyn’s summers are humid, and that humidity does specific things to a garage door that a dry-climate guide won’t mention. It’s not the salt air some coastal guides warn about – this isn’t that kind of exposure. It’s the ordinary, steady damp of a New York summer sitting on steel and wood inside an unheated, unventilated garage. Here’s where it bites:
- Track rust. The horizontal tracks and the rollers that ride in them are the first to show it. Surface rust adds friction, and friction is the start of the grinding and squealing covered above. A track that rusts unevenly pulls the door to one side.
- Spring fatigue. Steel springs under constant tension don’t love repeated humidity and temperature swings. The combination of a hot, damp summer and a cold winter works the metal, and a fatigued spring is a spring that’s closer to failing. This is a big reason spring problems show up in Canarsie more often than homeowners expect.
- Hinge and bolt corrosion. The small hardware that holds the door together seizes up, which stresses the panels and can throw the door out of balance.
- Wood door swelling. If your door has wood components, damp air can swell the panels, and a swollen door binds in the tracks.
What this means practically: a Canarsie door benefits from periodic lubrication and a look at the tracks and hardware a couple of times a year, especially going into and coming out of the humid season. Catching surface rust early and keeping the moving parts oiled heads off a lot of the grinding and binding that brings people to a repair call in the first place. It won’t stop a spring from eventually fatiguing, but it keeps the rest of the system from adding to the strain. Doors and hardware from Clopay and Amarr, common on Brooklyn homes, hold up well when they’re maintained and suffer when they’re ignored, same as any brand.
Reading Blink Codes Across Different Brands
A blinking light on the opener is a code, and the code means different things on different brands. This trips up a lot of homeowners who search “blinking garage door light” and land on advice written for a different manufacturer. The same visual symptom – a light flashing a set number of times – can point to a sensor obstruction on one brand and a travel-limit or control-board issue on another.
Here’s the general principle worth knowing, even without a code chart in hand:
- The count matters. Most openers flash a specific number of times to signal a specific fault. Write down the number of blinks and whether they repeat in a pattern.
- The location of the light matters. A light on the opener housing is a different signal from a light on a sensor eye near the floor. Sensor lights are usually about the beam; housing lights are usually about the motor or limits.
- The brand determines the meaning. A LiftMaster pattern and a Chamberlain pattern can look identical and mean two different things. Genie and Craftsman follow their own logic too. Don’t assume a code you found for one brand applies to your door.
This is exactly the kind of diagnosis where multi-brand experience pays off. When you call, tell us the brand of your opener and the blink pattern you’re seeing. That single combination usually tells a trained technician what to check first before anyone touches the door. It’s one of the reasons we cover eight major brands across openers and doors – when the code doesn’t match the brand chart you found online, we can actually read it. The blind spot for a lot of single-brand shops is a door from a manufacturer they don’t stock parts for, and the homeowner ends up waiting while a part is ordered. We’d rather diagnose the whole system, opener and door together, and get it right in one pass.
The Canarsie Triage Checklist: What to Check Before You Call
You don’t need to fix anything to save money on a service call – you just need to describe the problem accurately. A technician who knows what you’ve already ruled out can show up prepared and get to the fix faster. Run this checklist in order before you pick up the phone. It’s also the exact sequence a good technician will run on arrival, so doing it yourself makes the visit quicker.
- Check the power. Is the opener getting electricity? Look for a light on the unit. Check the outlet and the breaker.
- Check the remote battery and try the wall button separately. Which one works tells you where the fault is.
- Check the safety sensors. Both eyes lit? Beam clear? Lenses clean? Sensors square to each other?
- Look and listen. Does the door grind, squeal or hesitate? Does it move evenly or bind on one side? Note whether the symptom changes on the way up versus the way down.
- Check the manual release. Has the red cord been pulled, disengaging the door?
- Note the blink code if there is one – how many blinks, and where the light is.
- Test the door’s weight cautiously with the opener disengaged. If it’s extremely heavy or won’t lift, stop – that’s a spring issue and you should not force it.
- Write down the brand of your door and opener. It’s on the opener housing and often on a label inside the door.
When you call with those eight answers, you’ve already done the easy half of the diagnosis. That’s a faster, more accurate service call, and it means fewer return visits for parts. For a full installation or a door that’s beyond repair, the same careful approach applies – you can see our garage door installation work, and the same team can help you decide whether repair or replacement is the smarter money.
DIY-Safe Checks vs. Hard-Stop Hazards
There’s a clean line in garage door work between what a careful homeowner can safely handle and what can put someone in the hospital. Know where that line is before you start.
Safe to do yourself
- Replacing remote batteries and reprogramming a remote or keypad.
- Aligning and cleaning the safety sensor eyes.
- Lubricating rollers, hinges and the spring with the right product.
- Cleaning the tracks (not greasing them) and removing obstructions.
- Checking the breaker and confirming power to the opener.
- Re-engaging the manual release.
Stop and call a professional
- Anything involving torsion springs or tension springs. These store enough energy to cause severe injury. Never try to loosen, adjust or replace one yourself.
- Cables under tension. A cable that snaps or slips under load is dangerous. Leave it to a trained technician.
- Straightening a badly bent track that has thrown the door out of balance.
- Replacing a stripped opener gear or working inside the opener housing.
- Any work where the door is hanging crooked or the spring appears broken – the door is carrying weight it isn’t meant to hold.
The decision criterion is simple: if the part is under stored tension or the door’s balance is in question, it’s a professional job. Our technicians have up to 14 years of experience with these exact components, and the reason spring work is a core service for us rather than an afterthought is that it demands that experience. If you’ve reached the point where a spring or cable is involved, don’t experiment. Call and we’ll take it from there.
Common Mistakes to Avoid
- Greasing the tracks. It seems helpful, but grease turns the track into a grit magnet and makes rollers slide instead of roll. Lubricate the moving parts, keep the tracks clean and dry.
- Replacing the opener when the sensor is the problem. A door that reverses is usually reporting a blocked beam, not a dead motor. Check the sensors before you price a new opener.
- Forcing a crooked or heavy door. Running an opener against a broken spring or a bent track strains the motor and can turn a small repair into a big one. Stop and diagnose.
- Ignoring the blink code. That flashing light is the door telling you what’s wrong. Writing down the count and the brand saves a diagnostic step and often a second visit.
- Assuming a code from one brand applies to yours. A LiftMaster flash pattern and a Chamberlain one can look the same and mean different things. Match the code to the brand.
- Skipping lubrication through the humid season. Canarsie summers are hard on steel. A little maintenance in spring and fall heads off the grinding, rust and binding that fill repair calendars.
- DIY spring work. Torsion and tension springs can cause serious injury. This is the one job that is never worth the savings.
See the difference
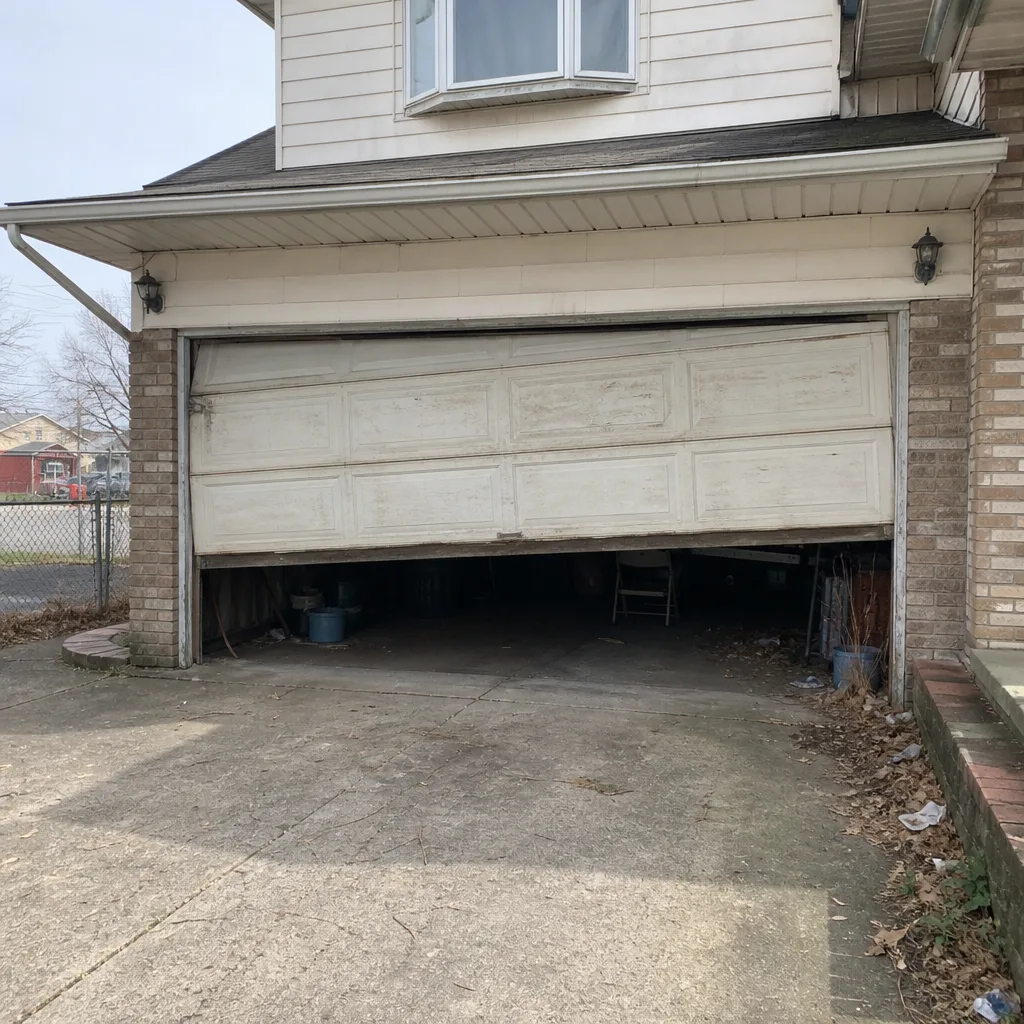 Before
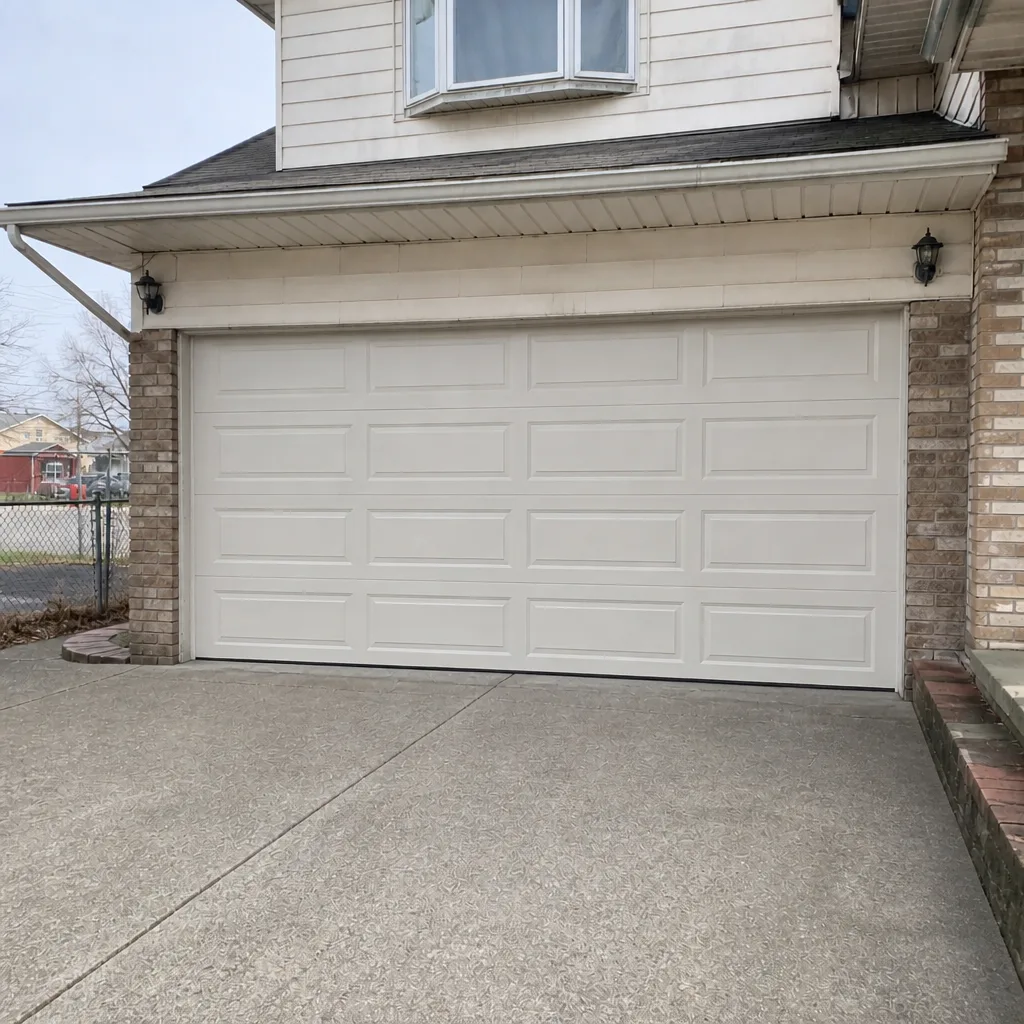 After
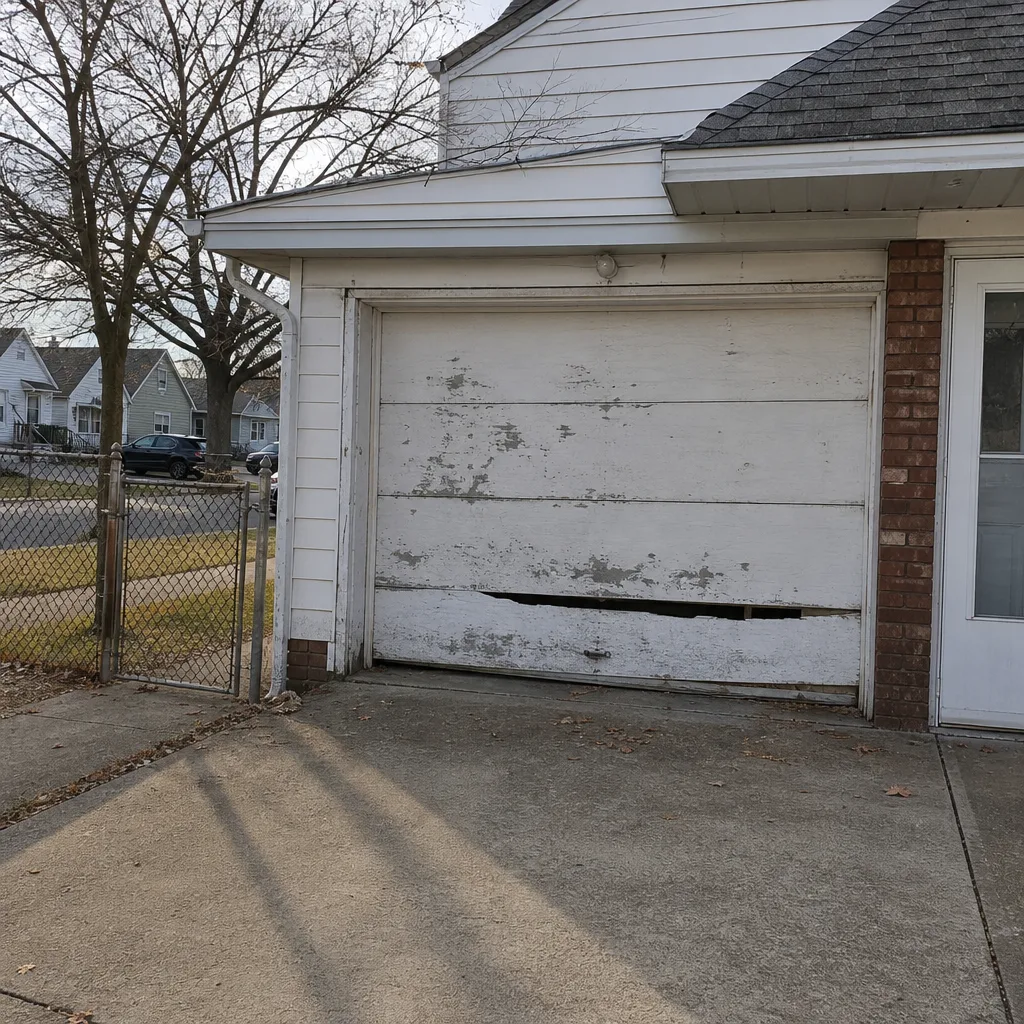 Before
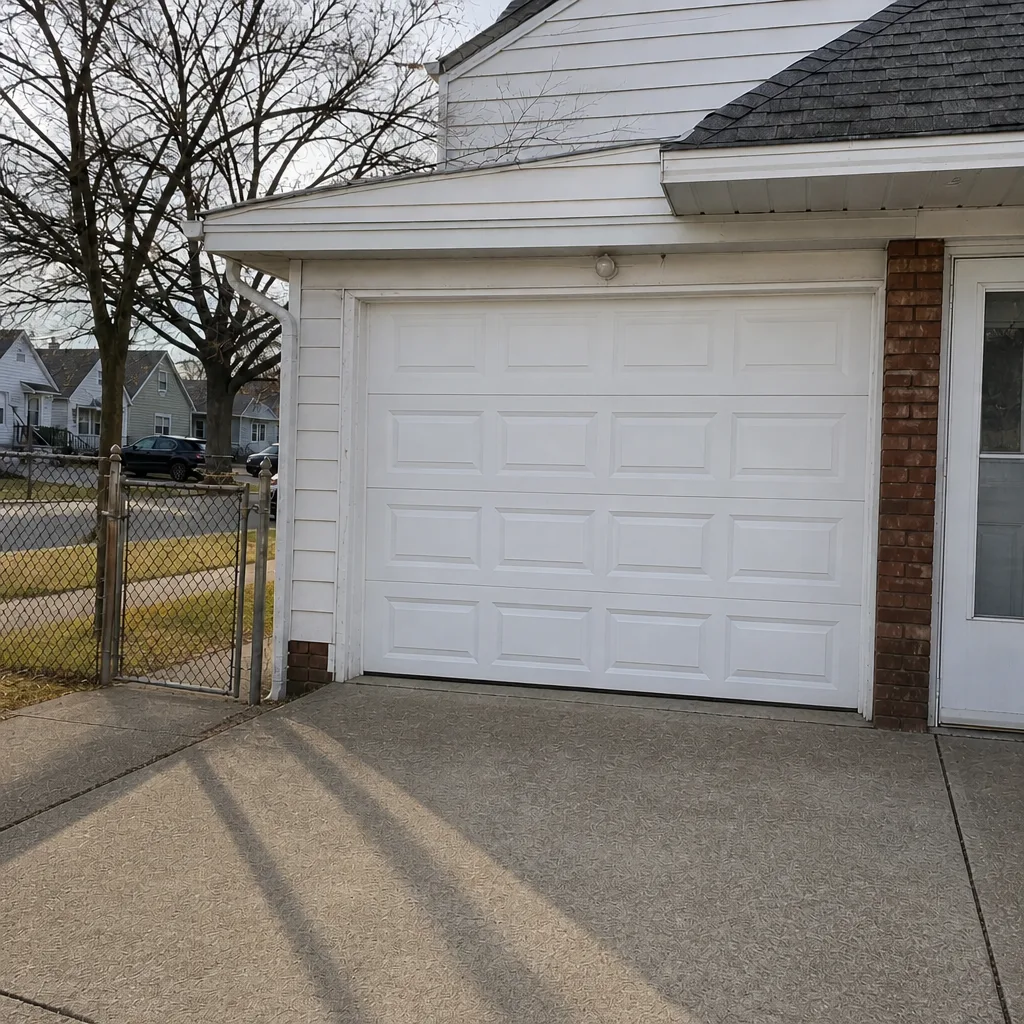 After
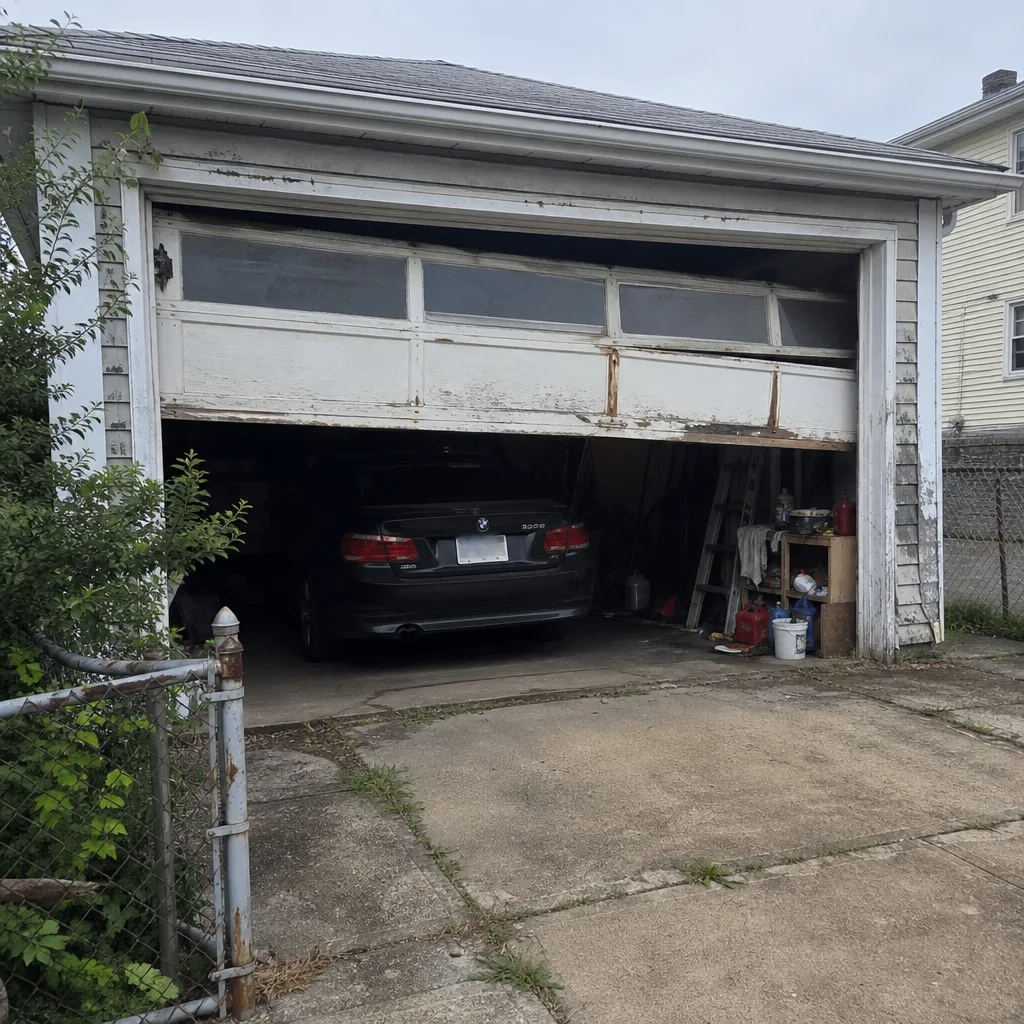 Before
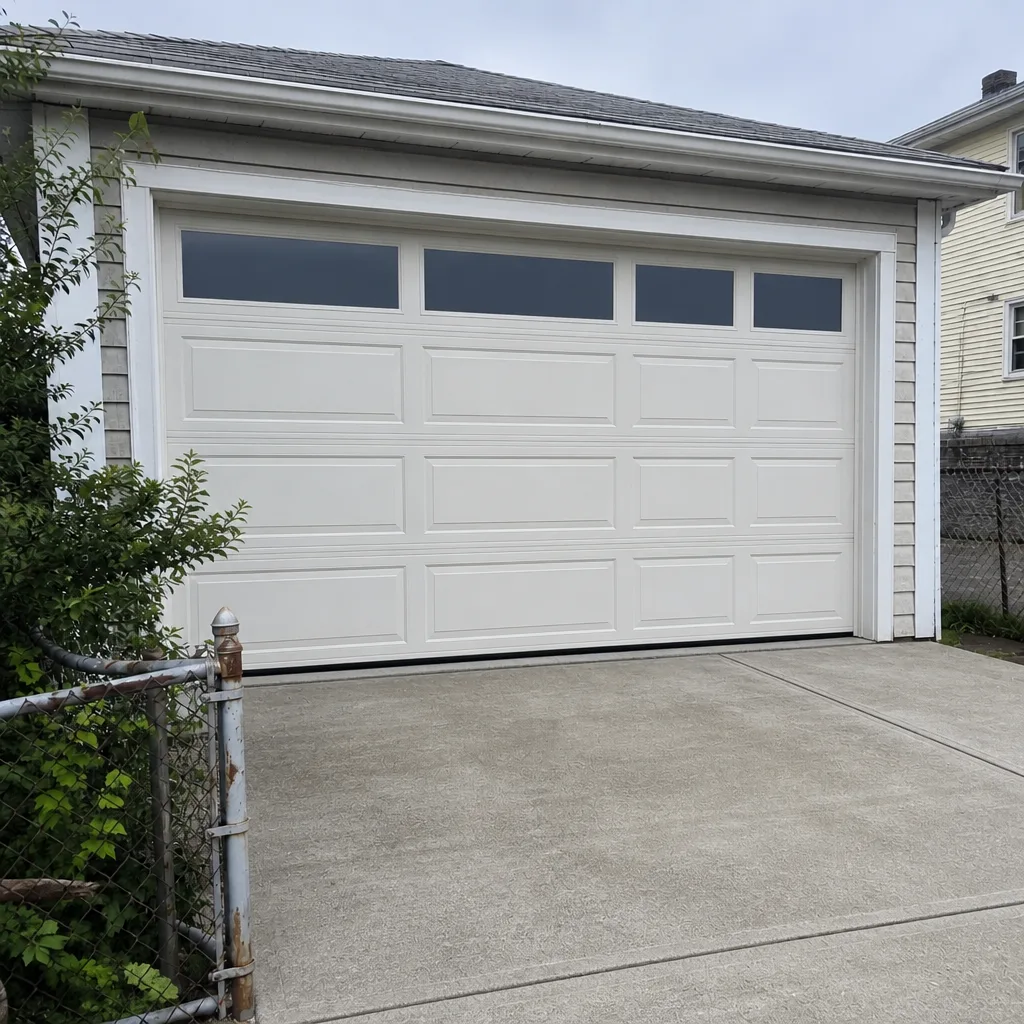 After
When to Call a Professional
Call a professional the moment a spring or cable is involved, the door hangs crooked or won’t balance, the opener strains or cuts out, or the door won’t open or close at all and you’re exposed or blocked in. Those are the situations where a wrong guess costs more than a service call, and where safety is genuinely at stake. For sensor, remote or minor track issues, the DIY checks above will often get you sorted. If a door failure has compromised your home’s security or trapped your car, that’s an emergency call and we treat it as one. Garage Door Repair Canarsie offers free estimates in Canarsie and works on doors and openers from all eight major brands – LiftMaster, Chamberlain, Genie, Clopay, Amarr, Wayne Dalton, Craftsman and Raynor. Call (844) 443-4493 for a free estimate and an honest read on what your door actually needs.
Frequently Asked Questions
Your safety sensor is almost certainly misaligned, blocked or dirty, and the door is doing what it was designed to do by backing off. Check for obstructions, confirm both sensor eyes are lit, clean the lenses and gently square the brackets until the beam is steady. If the beam is clear and lit and the door still reverses, the travel limits on the opener need adjusting, which is an opener repair. Call (844) 443-4493 for an exact quote – estimates are free.
Spring repair is priced per spring, and a matched pair is usually replaced together, so a pair costs roughly twice a single spring. The written estimate sets the final price, and we quote it before any work starts. Because a broken spring is a security and access problem, we treat it as an emergency and can respond the same day. Call (844) 443-4493 for a free estimate.
Grinding is usually friction, not a dying motor. Dry or worn rollers, a binding track or a stripped opener gear are the common sources, and a low grind from the motor housing specifically points to the gear. Don’t lubricate the tracks – that makes it worse. If the noise persists after lubricating the rollers and hinges, it needs a proper look. Call (844) 443-4493 for a free estimate.
Yes. A door that won’t close leaves your home exposed, and one that won’t open traps your car, so we offer same-day emergency service for exactly these failures. Tell us the brand, the symptom and any blink pattern when you call so the technician arrives prepared. Call (844) 443-4493 – estimates are free.
The written estimate is the price. We diagnose the door, quote the repair and agree it with you before any work starts, so there’s no surprise on the invoice. If the diagnosis turns up something you didn’t describe, we tell you before touching it and you decide. Call (844) 443-4493 for a free estimate.
We service eight major brands: LiftMaster, Chamberlain, Genie, Clopay, Amarr, Wayne Dalton, Craftsman and Raynor, so there’s a strong chance we cover yours. We work on your brand, not just ours, which means you don’t get pushed toward a product you didn’t choose. Read the blink code to us with the brand name and we can tell you what to check first. Call (844) 443-4493 for a free estimate.
The Bottom Line
Most garage door “failures” are misdiagnosed symptoms. The door reversing is usually a sensor, not a dead motor. The grind is usually a roller or a track, not the opener. The door that won’t lift is usually a spring, and that’s the one job you should never take on yourself. Map the symptom to the system, run the triage checklist before you call, and match any blink code to your brand – LiftMaster and Chamberlain don’t speak the same language, and neither do Genie and Craftsman. Keep the moving parts lubricated through Canarsie’s humid summers and you’ll head off a lot of trouble. When a spring, cable or balance issue is involved, that’s when a trained technician saves you money and keeps you safe. For everything from a first fix to a full replacement, one call covers diagnosis, parts and repair across the major brands. Reach out to Garage Door Repair Canarsie when you’re ready to get your door working right the first time. Call (844) 443-4493 for a free estimate.
Written by the team at Garage Door Repair Canarsie.